Coffee Grounds Application Scheduler
Select your options and click "Get Schedule" to see the best way to use your coffee grounds.
You probably dump a cup of coffee every morning without thinking twice. But have you ever looked at that wet pile of dark brown sludge in your filter and wondered if it’s gold dust or just trash? It’s a common question among home gardeners: how often should I put coffee grounds on my plants? The answer isn’t a simple "every day" or "never." It depends entirely on how you apply them and what you’re growing.
Here is the hard truth straight from the soil: throwing fresh, wet coffee grounds directly onto your plant beds too often can actually hurt your garden. Yes, they are rich in nitrogen, which plants love, but they can also compact into a crust that blocks water and air. If you want to use this free resource effectively, you need a strategy, not just a habit. Let’s break down exactly when, how, and why to use coffee grounds so your hydrangeas thrive instead of drowning.
The Real Science Behind Coffee Grounds
To understand frequency, you first need to know what you’re dealing with. Coffee grounds are the residual solid material left after brewing coffee. They are an organic matter byproduct that contains significant amounts of nitrogen, potassium, phosphorus, and magnesium. While many people believe used grounds are highly acidic, studies show that most of the acidity washes out during the brewing process. Used grounds typically have a pH between 6.5 and 6.8, which is nearly neutral.
This distinction matters because it changes how you treat them. You aren’t dumping battery acid on your roses; you’re adding slow-release organic fertilizer. However, the physical structure of the grounds is where things get tricky. Fresh grounds are fine and sticky. When they dry out, they form a dense layer. This layer acts like a shield against rain and watering, preventing moisture from reaching the roots underneath. That’s why timing and method matter more than volume.
Fresh vs. Composted: Why Method Changes Frequency
The biggest mistake beginners make is treating all coffee ground applications the same. There are two main ways to use them, and each has a different schedule.
1. Direct Application (Top Dressing)
This involves sprinkling grounds directly onto the soil surface around your plants. Because of the compaction risk mentioned earlier, you must be careful here. If you do this, less is more. You are essentially applying a thin mulch layer. If you go too thick, you suffocate the soil microbes.
2. Composting (The Gold Standard)
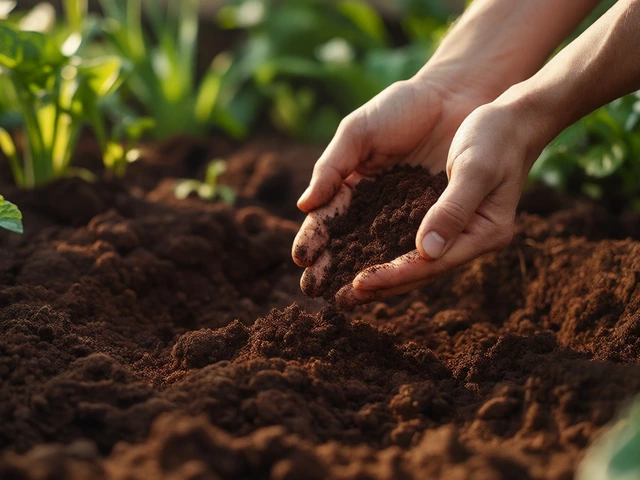
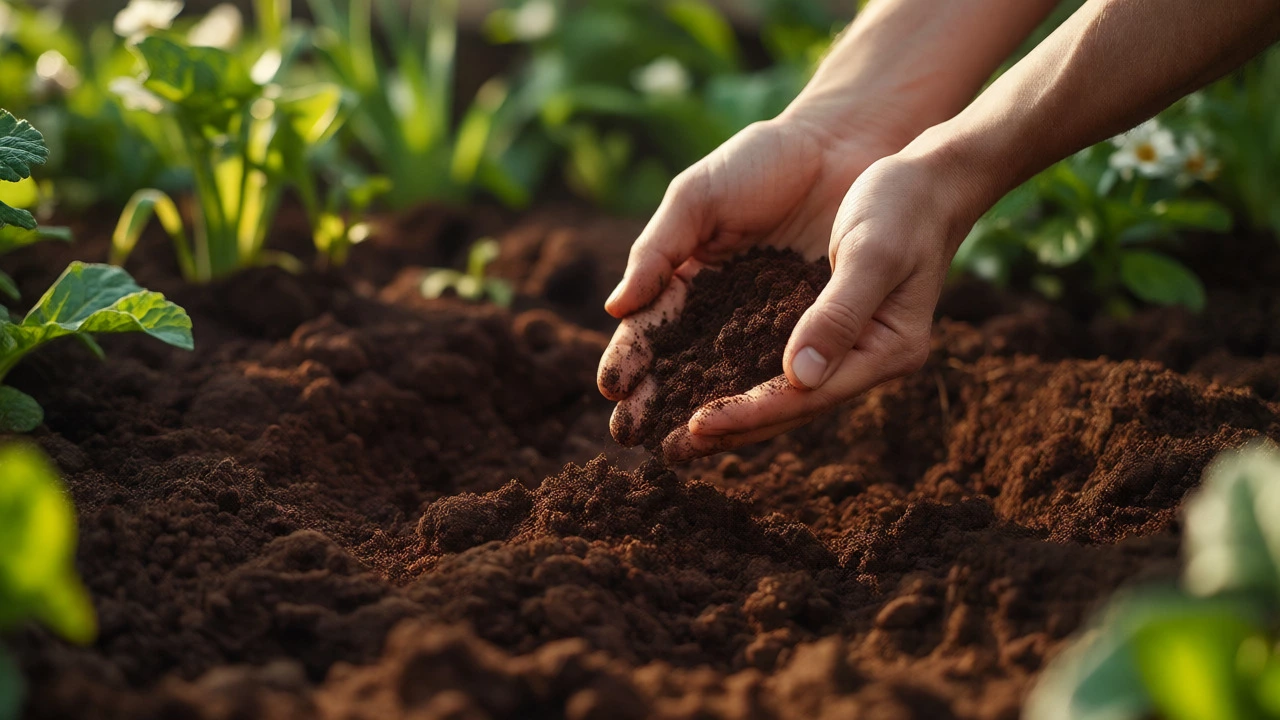
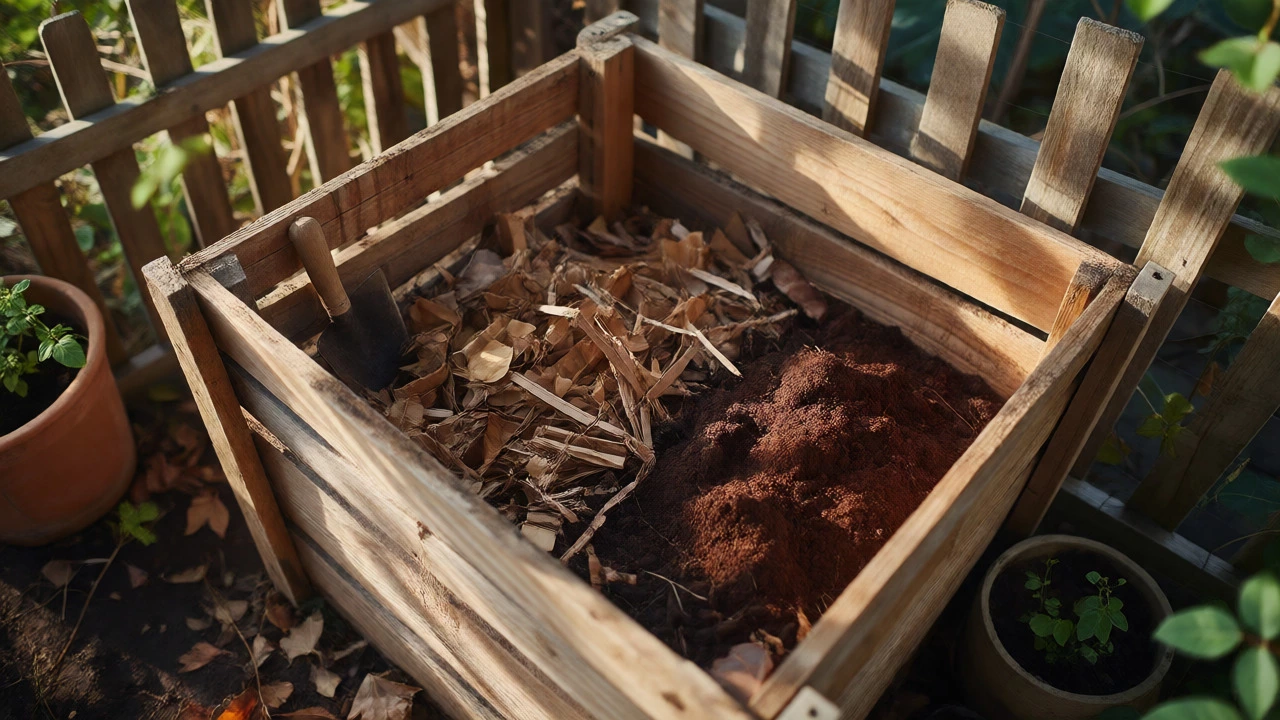
Adding grounds to your compost bin is the safest and most effective method. In a compost pile, coffee grounds act as "greens," providing nitrogen to balance out carbon-rich materials like dry leaves and cardboard. Once broken down, the resulting compost loses its tendency to compact and becomes a fluffy, nutrient-dense amendment you can use liberally.
| Method | Frequency | Risk Level | Best For |
|---|---|---|---|
| Direct Top Dressing | Once every 4-6 weeks | High (Compaction) | Established shrubs, heavy feeders |
| Mixed into Soil | Seasonal (Spring/Fall) | Medium | New planting beds, raised beds |
| Compost Addition | Every time you brew | Low | All plants, vegetable gardens |
| Liquid Tea | Weekly | Low | Potted plants, quick boost |
How Often to Apply Directly to Soil
If you choose to skip the compost bin and sprinkle grounds right onto your garden beds, stick to a monthly schedule. Here is the rule of thumb: never let the layer of coffee grounds exceed half an inch. Any thicker, and you risk creating a barrier that repels water.
For active growing seasons (spring and summer), once a month is plenty. During winter dormancy, you can stop completely. Why? Because microbial activity slows down in cold weather. The bacteria and fungi needed to break down those grounds are sluggish in the cold Sydney winters, meaning the grounds will sit there, potentially molding or compacting, rather than feeding your plants.
Also, consider the texture of your soil. If you have heavy clay soil, like much of Western Sydney, direct application is risky. Clay already drains poorly. Adding fine particles like coffee grounds can make it even denser, turning your garden bed into a brick-like mess after a storm. If you have sandy soil, you have more leeway, but still, moderation is key.
The Compost Route: Daily Use Is Fine
Want to use coffee grounds every single day? Do it in your compost bin. Your kitchen waste adds up quickly. A typical household generates about 0.5 to 1 pound of coffee grounds per week. This is perfect for balancing a compost pile.
The ideal ratio for compost is roughly 3 parts brown material (carbon) to 1 part green material (nitrogen). Coffee grounds count as green. So, for every scoop of coffee grounds, add three scoops of shredded newspaper, dried leaves, or straw. This prevents the pile from becoming slimy and smelly. If your compost smells like ammonia, you’ve added too many grounds. If it smells earthy and looks crumbly, you’re on track.
Once your compost is ready (usually 3-6 months depending on temperature and turning frequency), you can spread it on your plants as often as you like. Finished compost doesn’t compact. It improves soil structure, holds water, and feeds worms. This is the ultimate way to utilize coffee waste without worrying about over-application.
Which Plants Love Coffee Grounds?
Not all plants appreciate a coffee party. While the pH argument is largely debunked for used grounds, some plants are naturally adapted to richer, looser organic matter. Others prefer leaner soils.
Acid-Loving Plants:
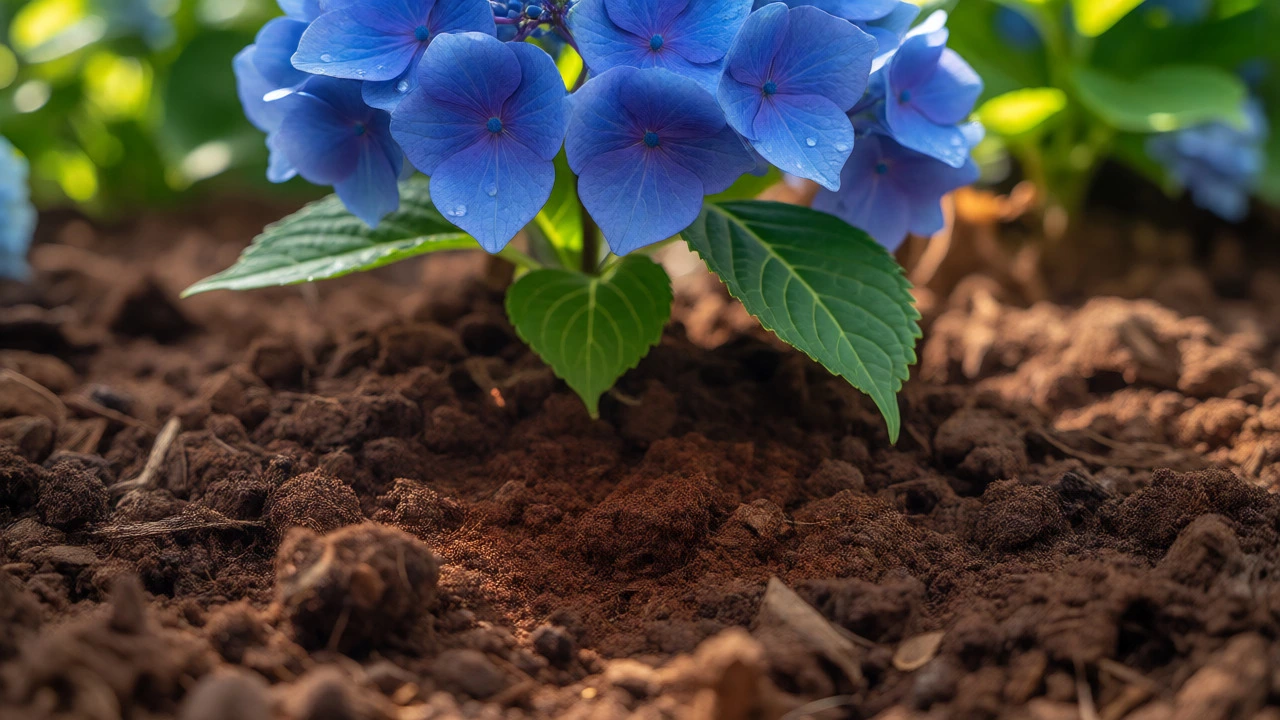
Even though used grounds are near-neutral, they often slightly lower pH over time as they decompose, especially if fresh grounds are used. Plants like Hydrangeas, Azaleas, Rhododendrons, and Blueberries tend to respond well to the slight acidity and increased organic matter. Many gardeners report bluer hydrangea blooms after regular coffee ground additions.
Vegetable Garden Favorites:
Leafy greens like spinach and kale benefit from the nitrogen boost. Tomatoes and peppers also enjoy the extra nutrients, provided the grounds are composted first. Avoid using raw grounds directly around root vegetables like carrots or radishes, as the dense material can interfere with root development.
Plants to Watch Out For:
Some seedlings are sensitive to caffeine residues. While most caffeine ends up in the cup, trace amounts remain in the grounds. Studies suggest caffeine can inhibit the growth of certain young plants. If you are starting seeds indoors or sowing directly in spring, avoid putting raw grounds in the immediate root zone of tiny sprouts. Wait until the plants are established.
Common Pitfalls to Avoid
Let’s talk about what goes wrong. I’ve seen too many gardens suffer from "Coffee Crust." This happens when a thick layer of wet grounds dries out into a hard shell. Rain hits the top, runs off, and never reaches the roots. The plant dies of thirst while sitting in damp-looking soil.
- Ignoring Mold: Wet grounds piled high can develop white mold. This is usually harmless saprophytic fungus, but it looks unsightly. Mixing grounds into the soil or compost prevents this.
- Over-Fertilizing: Coffee grounds are not a complete fertilizer. They lack sufficient phosphorus and calcium. Relying solely on them can lead to nutrient imbalances. Always combine with other organic amendments.
- Using Flavored Grounds: Stick to plain coffee. Vanilla or hazelnut flavored grounds may contain sugars or oils that attract pests like ants or rodents to your garden beds.
A Simple Schedule for Success
So, how do you integrate this into your routine? Here is a practical plan that works for busy gardeners.
- Daily: Dump your used coffee filter into the compost bin. Balance with dry leaves or paper.
- Monthly (Spring/Summer): Take a small handful of dry grounds (spread them on a tray to dry first) and lightly sprinkle them around the base of heavy feeders like roses or tomatoes. Scratch them gently into the top inch of soil.
- Quarterly: Harvest finished compost and spread a generous layer (1-2 inches) over your entire garden bed. Water it in thoroughly.
- Winter: Pause direct applications. Focus only on maintaining the compost pile.
Remember, gardening is about observation. Check your soil. If it feels loose and crumbly, your coffee grounds are helping. If it feels hard and water pools on the surface, back off and aerate the soil.
Do coffee grounds really change soil pH?
Used coffee grounds have a near-neutral pH (6.5-6.8), so they don't significantly acidify soil on their own. However, they encourage microbial activity that can gradually lower pH over time. Fresh, unbrewed grounds are acidic and can lower pH more immediately, but these are rarely used in gardens due to cost.
Can I put coffee grounds directly on potted plants?
Yes, but cautiously. Pots drain differently than garden beds. Mix a small amount of grounds into the potting mix when repotting, or sprinkle a very thin layer on top and scratch it in. Never leave a thick mat of grounds on the surface of a potted plant, as it can block drainage holes and cause root rot.
Will coffee grounds keep slugs away?
There is a popular myth that the abrasive texture and caffeine deter slugs. While slugs dislike crossing sharp or sticky barriers, coffee grounds alone are not a reliable slug repellent. Slugs can navigate through moist grounds easily. For better results, use copper tape or beer traps alongside your coffee ground fertilization.
How long does it take for coffee grounds to work?
When composted, benefits appear immediately upon application. When applied directly, decomposition takes several weeks to months depending on soil temperature and moisture. You won't see instant greening like you would with synthetic fertilizer. Think of it as a slow-release food source for your soil ecosystem.
Are espresso pods biodegradable?
Most modern ESE pods and capsules are made from paper or bioplastics and are compostable. However, check the packaging. Some contain plastic linings or foil lids that must be removed before adding the coffee grounds to your compost bin. Pure paper filters are fully biodegradable and excellent for composting.