How Soon Can You Plant After Tilling? Best Timing for a Healthy Garden
Wondering how long to wait after tilling before planting? Learn when it's best to plant, signs soil is ready, mistakes to avoid, and simple steps for planting success.
Ready to turn a patch of dirt into a thriving garden? The secret lies in two basics: proper tilling and smart planting. You don’t need fancy tools or a horticulture degree – just a few easy steps and a bit of patience.
Think of tilling as giving your soil a good stretch before you set down seeds. Loosening the earth breaks up compacted clumps, improves drainage, and lets roots breathe. If you skip this step, plants fight for water and nutrients, and you’ll see stunted growth.
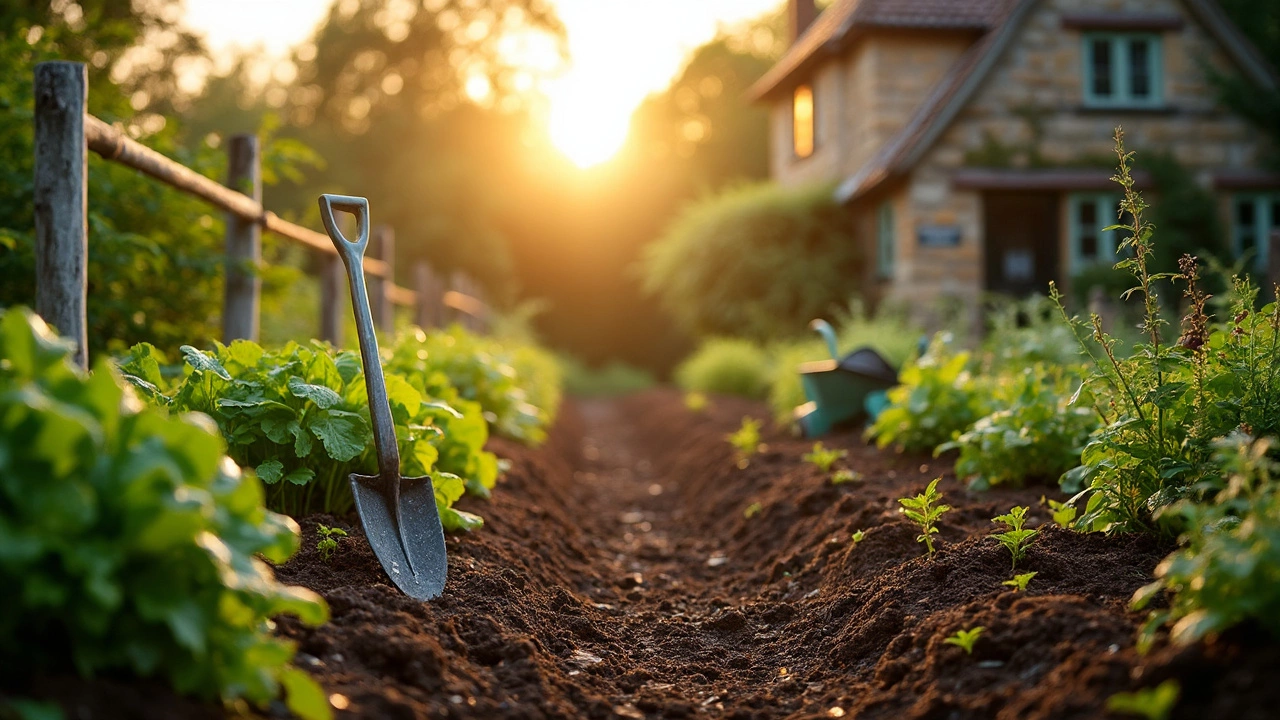
Start by removing rocks, weeds, and debris. Then use a garden fork or a rototiller to work the soil to a depth of about 8‑10 inches. For small beds, a fork works fine; for larger areas, a rototiller speeds things up. Aim for a crumbly texture – you should be able to form a loose ball that falls apart easily.
Once the soil is ready, it’s planting time. The biggest mistake beginners make is planting too deep or too close together. Check each seed packet for the recommended depth – a good rule of thumb is to plant at a depth twice the seed’s size.
Space matters, too. Overcrowding creates competition for sunlight and water, leading to weak plants. For most vegetables, give each seed a gap of at least 12 inches. If you’re growing a variety of crops, group plants with similar water needs together. This makes watering easier and reduces stress on the garden.
Water right after planting. A gentle soak settles the soil around the roots and kick‑starts germination. Keep the soil consistently moist for the first two weeks, then let it dry a little between waterings. Too much water can rot seeds; too little will stop them from sprouting.
Need inspiration? Our "Best Easy‑to‑Grow Vegetables for Beginner Gardeners" post lists carrots, radishes, and lettuce – all forgiving choices for new planters. Pair those with the tilling basics here, and you’ll see seedlings popping up in no time.
Mulching is a simple hack that follows planting. Spread a thin layer of straw, shredded leaves, or wood chips around your seedlings. Mulch locks in moisture, suppresses weeds, and gradually adds organic matter to the soil. It’s like giving your garden a protective blanket.
Don’t forget to rotate crops each year. Switching where you plant beans, tomatoes, or cucumbers helps prevent soil‑borne diseases and keeps nutrients balanced. Rotation is a pro tip that even seasoned gardeners swear by.
Finally, keep an eye on your garden’s progress. Spot any wilting or discolored leaves early, and adjust watering or shading as needed. A quick check every few days is all it takes to catch problems before they spread.
With these tilling and planting steps, you’re set to grow a garden that looks good and feeds you. Grab your tools, follow the basics, and watch the soil come alive. Happy gardening!
Wondering how long to wait after tilling before planting? Learn when it's best to plant, signs soil is ready, mistakes to avoid, and simple steps for planting success.

