Tilling Garden Basics: When to Plant and How to Prepare Soil
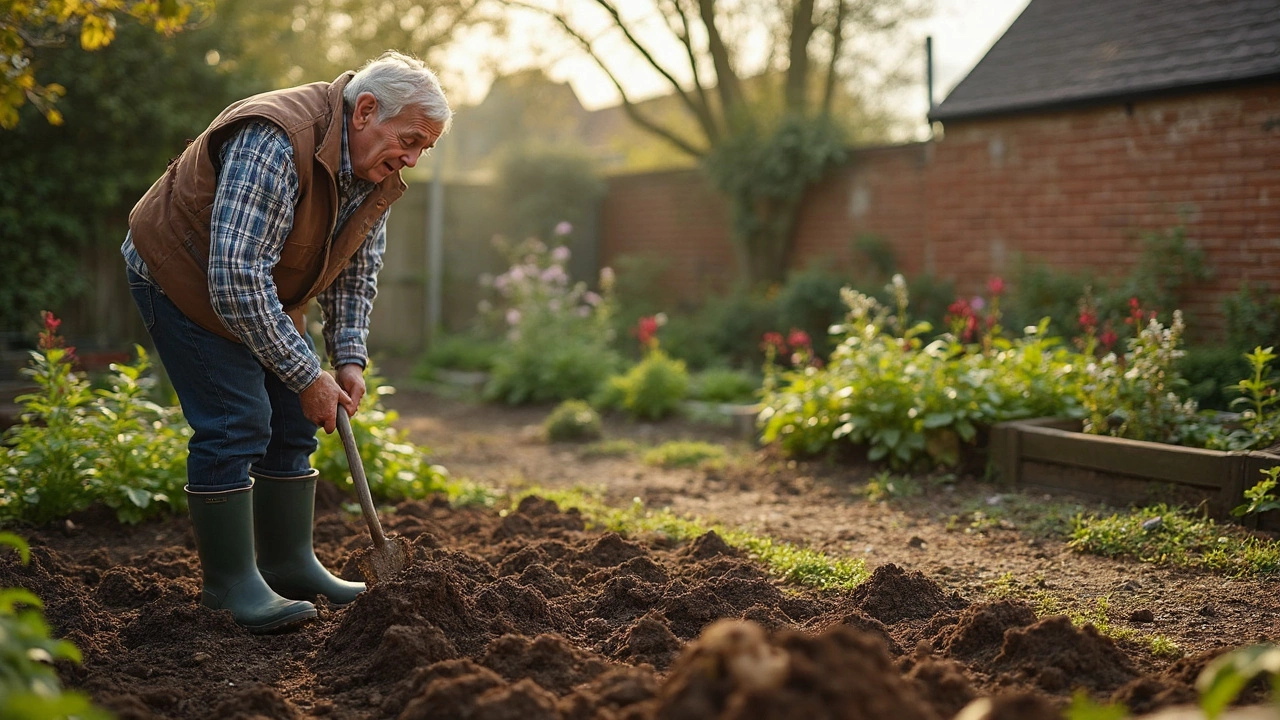
Ever wondered why some gardens bloom while others stay barren? The secret often starts with how you till the soil. Tilling breaks up compacted earth, lets roots breathe, and mixes in nutrients. But the real magic happens when you know the right moment to plant after tilling. In this guide, you’ll get clear steps to turn fresh soil into a thriving garden.
Why Tilling Matters
When you first dig, the soil feels hard and dense. Tilling loosens it, creates small air pockets, and helps water seep in evenly. This makes it easier for seedlings to push through and for roots to spread. A well‑tilled bed also lets you work in compost, manure, or other amendments that boost fertility.
When Can You Plant After Tilling?
The short answer: wait until the soil settles enough to hold a shape but stays loose enough for roots to move. In practice, that means 1‑3 days for light tilling and up to a week for deep work. Here’s a quick checklist:
- Feel the soil a few inches down – it should crumble in your hand, not turn to mud.
- Press a handful together; if it forms a loose ball that falls apart easily, it’s ready.
- Watch the weather – planting right after a heavy rain can cause the soil to compact again.
- Check temperature – most vegetables need the soil to be at least 10°C (50°F) before seeds sprout well.
If you’re unsure, do a simple “finger test.” Stick your finger about an inch deep; if you can pull it out with a little soil sticking to it, the bed is ready. If it’s still hard or watery, give it another day.
Another tip: after tilling, spread a thin layer (about a half‑inch) of compost or well‑rotted manure. Lightly work it in – this adds nutrients and helps retain moisture. Then water lightly to settle the amendment but avoid turning the soil into a soggy mess.
Now you’re set to plant. Whether you’re sowing seeds directly, starting seedlings in pots, or transplanting mature plants, follow these basic steps:
- Mark rows or planting spots using a string line or a small garden trowel.
- Make a shallow hole or furrow that matches the depth recommended on the seed packet.
- Place seeds or seedlings, then cover gently with soil. Pat down lightly to remove air pockets.
- Water right after planting – a gentle soak helps seeds make contact with the soil.
Keeping the soil consistently moist (but not drenched) during the first two weeks is crucial. A simple spray bottle or a fine‑misting hose works well for delicate seedlings.
Common mistakes to avoid:
- Planting too soon: wet, compacted soil can suffocate roots.
- Skipping the amendment: fresh soil often lacks enough nitrogen and organic matter.
- Over‑watering after tilling: waterlogged soil reduces the benefits of aeration.
By timing your planting right and giving the soil a little boost, you set the stage for healthier, higher‑yielding crops. Whether you’re growing easy veggies like lettuce and carrots or tackling a bigger veggie patch, the principles stay the same.
Ready to start? Grab your tiller, work the soil, wait a few days, and then plant with confidence. Your garden will thank you with lush growth and tasty harvests.
Curious about how much tilling your garden actually needs? This article breaks down how often to till before planting, and why less can sometimes be more. Get straight answers, including when skipping a second pass can save you time and boost your plants. Find tips for different soil types and what to avoid so you don’t mess up your garden before it even starts. Real tips for real gardeners who want their veggies to thrive.