Planting Preparation: When to Plant After Tilling
You've just finished tilling your garden bed and you're eager to drop seeds or seedlings in. But jumping in too fast can waste effort and hurt yields. Below are the practical steps that let you know exactly when the soil is ready and how to set it up for a healthy garden.
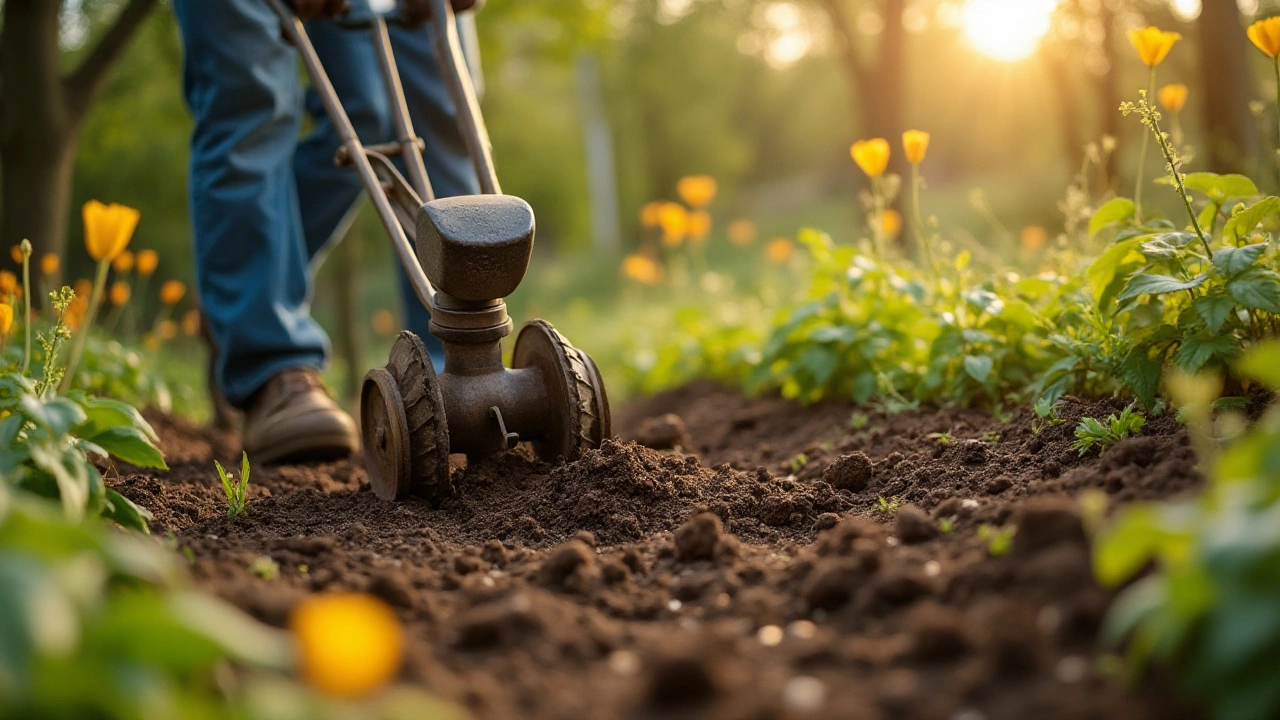
Check Your Soil: Signs It’s Ready
First, feel the soil. After tilling, it can be clumpy, too wet, or still too loose. A good rule of thumb is to press a handful between your fingers. If it forms a loose ball that crumbles easily, the moisture level is right. Too sticky? Wait a day or two for excess water to evaporate. Too dry? Lightly water the bed and let it sit for a few hours.
Next, look for a fine, crumbly texture. Large clods mean the soil hasn't broken down enough. Use a garden fork to turn the top inch; any large pieces should be crushed. A smooth, fine texture improves seed‑soil contact, which boosts germination.
Finally, test the temperature. Most vegetables sprout best when soil is between 55°F and 70°F (13‑21°C). If you have a soil thermometer, insert it a few inches deep. No thermometer? Stick your finger in the soil; it should feel warm, not cold.
Timing Tips for Different Crops
Cool‑season crops like peas, lettuce, and spinach love early planting, often right after the soil reaches that crumbly, moist state. You can sow them as soon as the soil is workable and the danger of frost has passed.
Warm‑season veggies—tomatoes, peppers, cucumbers—need a bit more heat. Wait until the soil consistently stays above 60°F (16°C). In many regions, that means waiting 1‑2 weeks after tilling, especially if you’ve watered heavily.
Root crops such as carrots and beets prefer firm soil that’s not too loose. After tilling, let the soil settle for a day, then lightly firm it with a rake before planting. This gives the roots a stable environment to grow straight.
For perennials and shrubs, give the soil a full week to settle and develop a thin layer of natural microbes. You can add a thin coat of compost at this stage—the microbes love the fresh organic matter and will help your plants later.
Regardless of what you're planting, avoid compacting the soil after you sow. Lightly press seeds into the soil with your hand or a board, then water gently. This ensures good seed‑to‑soil contact without crushing the seed.
In summary, the key to successful planting after tilling is patience and observation. Check moisture, texture, and temperature, then match your planting schedule to the specific needs of each crop. Follow these simple steps and you’ll see stronger germination rates, healthier seedlings, and a garden that rewards your effort.
Before planting, understanding the right frequency and methods for tilling your garden can greatly enhance soil health and plant growth. Tilling helps to aerate the soil, manage weeds, and integrate organic matter, but too much can disrupt the natural soil ecosystem. This guide provides practical advice on how often to till, what tools to use, and tips for maintaining the balance in your garden. Enhance your gardening skills with these insightful methods for preparing your garden bed.