Garden Soil Prep Made Easy: Start Growing Strong Plants Today
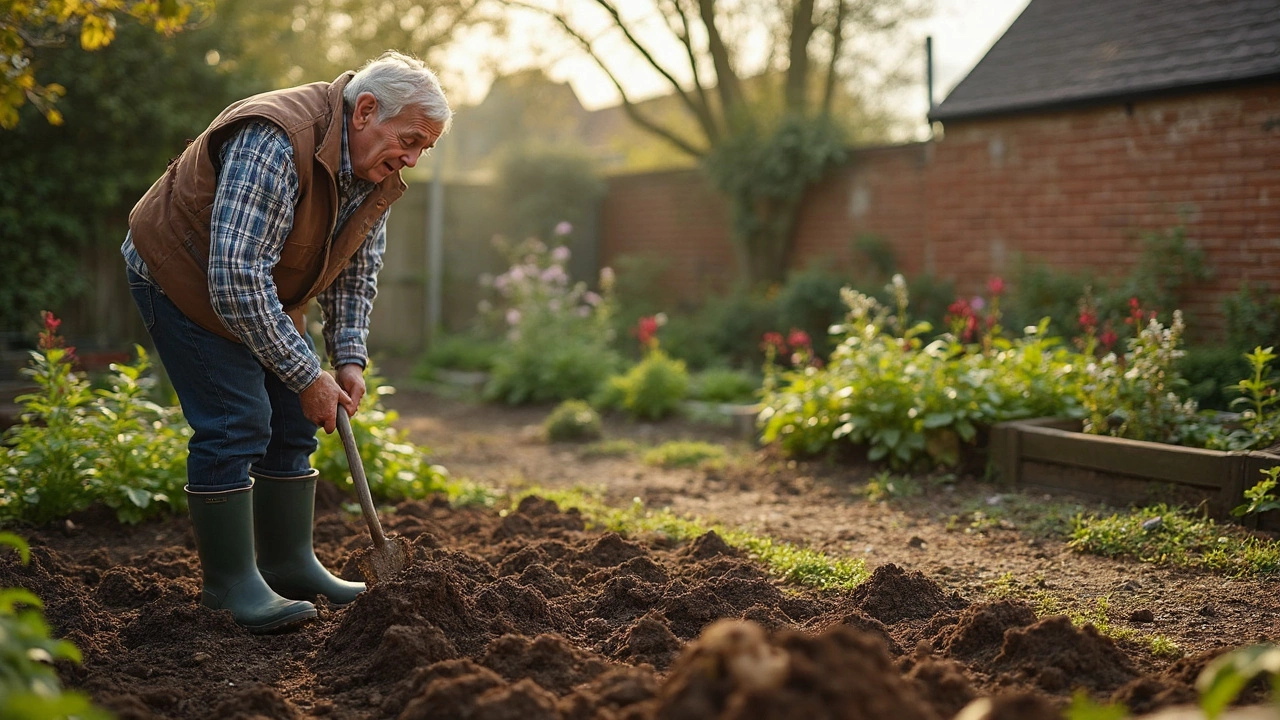
Good soil is the foundation of any thriving garden. Skipping the prep work might seem like a time‑saver, but it often leads to weak growth, pests, and lots of extra work later. The good news? You only need a few simple actions to turn ordinary dirt into a plant‑loving medium. Follow these steps and watch your garden bounce back faster than you expect.
Check Your Soil First
The first move is to know what you’re dealing with. Grab a basic soil test kit from any garden centre – they cost a few pounds and give you pH, nutrient levels, and texture info. If the soil is too acidic (pH below 6) or too alkaline (pH above 7.5), your plants will struggle to absorb nutrients. Write down the results; they’ll guide the amendments you add later.
Build a Healthy Bed in Simple Steps
Once you have the numbers, start amending. Mix in a generous layer of well‑rotted compost or leaf‑mold – about 2‑3 inches for a new bed, or a bit more if the soil looks sandy or heavy. Compost improves structure, adds organic matter, and feeds microbes that keep the soil alive. For nutrient gaps, spread a balanced organic fertilizer according to the test recommendations.
If your pH is off, lime will raise it for acidic soils, while elemental sulfur or pine needles can pull it down. Apply the correct amount, then work it into the top 6‑8 inches of soil. This depth lets roots reach the improved zone while keeping the surface level even.
Next, loosen the soil with a spade or garden fork. Aim for a crumbly texture; you should be able to form a loose ball that holds together but breaks apart easily. Avoid over‑tilling, which can destroy soil structure and kill beneficial organisms. A few firm passes are enough to blend amendments and create space for roots.
After the bed is ready, add a thin layer of mulch – straw, wood chips, or shredded leaves work well. Mulch conserves moisture, suppresses weeds, and slowly adds more organic matter as it breaks down. Keep the mulch a couple of inches away from plant stems to prevent rot.
Finally, give the soil a good soak. Water it deeply to settle everything and signal microbes to start working. Let the moisture seep in for a day or two before planting. When you do plant, space your seedlings according to the guide on the seed packet and water them gently to avoid shock.
Maintaining the soil is an ongoing task. A light top‑dressing of compost every spring keeps nutrients flowing, while a quick pH check each year ensures you stay on track. If you notice compacted spots, aerate them with a garden fork or a simple digging tool.
With this quick prep routine, you’ll set up a resilient garden that feeds itself. The effort you put in now pays off with stronger plants, bigger harvests, and fewer headaches down the line. Happy gardening!
Curious about how much tilling your garden actually needs? This article breaks down how often to till before planting, and why less can sometimes be more. Get straight answers, including when skipping a second pass can save you time and boost your plants. Find tips for different soil types and what to avoid so you don’t mess up your garden before it even starts. Real tips for real gardeners who want their veggies to thrive.