Ready to dig in and get your hands dirty? Before you even think about firing up that tiller or grabbing a shovel, let’s get clear on what tilling actually does. Tilling breaks up hard ground, mixes in things like compost, and gets your soil fluffy so roots can grow easier. If your garden patch is just a patch of grass or packed dirt, tilling can make it plant-friendly—fast.
But here’s the thing: not every patch of earth needs heavy-duty tilling, and doing it wrong can actually mess things up for future plants. You want to loosen the soil, not turn your garden into a dusty wasteland or slice up all those helpful worms. So let’s figure out if tilling is really needed, which time of year is best, and how to get the job done without turning your yard into a headache.
- Should You Even Till Your Garden?
- When and How Deep to Till
- Choosing Tools That Won’t Let You Down
- Steps for Tilling Like a Pro
- Avoiding Problems and Protecting Your Soil
Should You Even Till Your Garden?
So you’re standing there, tools ready, but hang on—do you really need to till your garden? Not every soil or garden bed demands a good churn, and sometimes skipping tilling is actually better.
First up, check what you’re working with. If your soil looks like hard-packed clay or feels like a brick, tilling can help. It breaks up dense patches and mixes in compost or organic stuff so roots can sneak around easier. But here’s a curveball—recent research from Iowa State University says too much tilling can wreck the structure, push away helpful bugs, and let weeds sneak in.
“Tilling can be helpful when starting a new garden, but repeated tilling every season can break down soil structure and reduce organic matter,” says Dr. Ajay Nair, Extension Vegetable Specialist at Iowa State University.
If you’re dealing with raised beds, loose soil, or an area that’s already soft and crumbly, you might skip tilling completely. No-till gardening is picking up steam, especially since healthy soil is packed with life. Worms, beetles, and microbes all pitch in to keep things thriving.
- If it’s your first time and your ground hasn’t been worked before, go ahead and till.
- If your soil is already soft and rich—maybe you mulched it or left it alone for a season—you might just rake instead.
- For garden patches with tons of weeds or tough old roots, a first till can give you a fresh start.
Here’s a quick breakdown to help decide:
| Situation | Should You Till? |
|---|---|
| Hard, untouched ground | Yes, till to prep the soil |
| Super weedy areas | Yes, till and remove weeds |
| Already loose, mulched soil | No, just mix in compost |
| Raised beds | No, usually just turn the top soil |
Remember, the goal isn’t just to chop things up. A single, thoughtful till a garden session is usually enough to kick off a new patch. After that, stick to gentle improvements—mulch, top-dressing, and keeping foot traffic off the beds can do wonders.
When and How Deep to Till
If you’re itching to get started, timing matters. The best time to till a garden is usually in early spring when the soil has thawed but isn’t soggy. Grab a handful of dirt and squeeze—if it sticks in a muddy clump, hold off. Wait until it crumbles with a little pressure. Tilling wet soil just makes everything clumpy and hard later on.
Fall’s another sweet spot. If you till before winter, you can mix in leaves, grass clippings, or manure, and let the weather break it all down. This way, your soil’s loaded with organic matter by the time spring rolls around again. Just skip tilling if it’s going to pour rain soon, or the ground is frozen solid.
So, how deep should you go? For most home gardens, aim for about 6 to 8 inches deep. That’s deep enough for veggie roots to grow but not so deep you’re dragging up rocks and ancient weeds. If you’re working with heavy clay, you can go a couple inches deeper the first time to break up pan layers. For raised beds, you might just loosen the top 4 to 6 inches since the soil’s already pretty friable.
- Spring: Wait until soil is just dry enough to crumble—don’t jump in too early.
- Fall: Great for mixing in compost, but skip tilling if rain is coming or the ground’s frozen.
- Depth: Most gardens do best at 6-8 inches. Deep enough for roots, but not too much to bring up weed seeds.
One more thing—go slow and don’t go over the same spot more than once unless you really have compacted soil. Over-tilling can break down soil structure and leave you with a sandy mess that doesn’t hold water or nutrients. You want it loose, not powdery. If you’re tilling a garden for the first time, stick to these basics, and you’ll be off to a solid start.
Choosing Tools That Won’t Let You Down
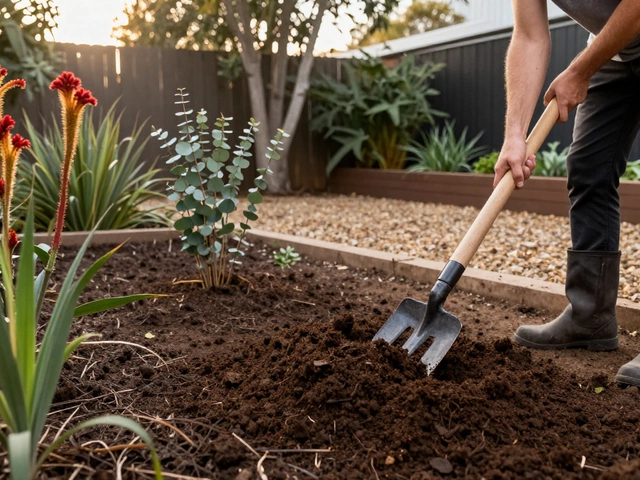
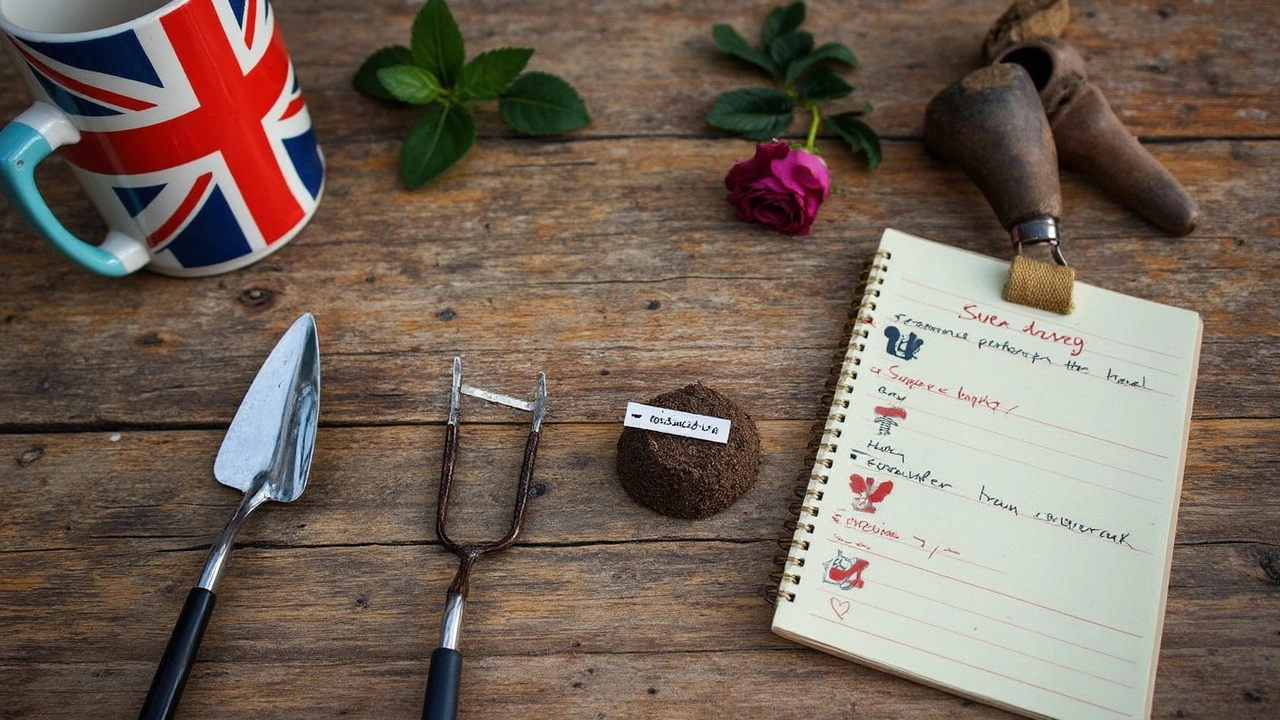
Picking the right tool for the job can seriously save your back and your sanity, especially if you’re new to this. For a small garden bed, you don't actually need a big rototiller. Sometimes a shovel or a digging fork gives you way more control—plus, they cost a lot less.
If you’re eyeing a larger spot or want to tackle hard, packed dirt, a power tiller does make life easier. There are two main types: front-tine tillers (lighter, good for soft or smaller areas) and rear-tine tillers (beefier, better for big or rocky plots). It’s wild, but Consumer Reports found most beginners actually prefer to rent a tiller, since a purchase can be $300 or more, and you might only use it once a year.
Here’s what your options look like side-by-side:
| Tool | Best for | Average Cost | Perk |
|---|---|---|---|
| Garden fork | Small beds, breaking up clumps | $20-$35 | Gentle on soil life |
| Shovel | Mixing and turning soil, edging | $15-$30 | Always handy for other jobs |
| Front-tine tiller | Medium plots, lighter soil | $250-$400 | Easy to maneuver |
| Rear-tine tiller | Big, tough jobs, clay or rocky soil | $350-$750 | Powerful and gets deep |
| Rental tiller | All sizes—one-time use | $40/day | Cheap and easy for first-timers |
A couple more tips: Call your hardware store before you rent—spring weekends get busy. And whatever tool you go for, wear gloves and sturdy shoes. Flying rocks and blisters are a real thing. If you end up grabbing a power tiller, never skip the user manual. Each model feels different, and those tines can chew up more than just grass if you’re not paying attention.
Here’s the deal: Don’t get obsessed with buying the biggest tool in the shed. For your first time gardening, it’s all about picking a tool that matches the job. Less hassle and fewer sore muscles mean you’ll actually have energy left to plant something when you’re done.
Steps for Tilling Like a Pro
Time to roll up your sleeves. Here’s how you can till that rough patch without making rookie mistakes. Do it right, and your plants will thank you all season long.
- Clear the Area: Remove rocks, sticks, old roots, or leftover plants. If you’ve got grass, either mow it low or strip the sod. The cleaner it is, the less likely you’ll jam your tiller or shovel.
- Check Soil Moisture: This part’s surprisingly huge. Grab a handful of dirt – If it clumps like play-dough, wait. If it crumbles, you’re good. Tilling wet soil creates hard clumps and wrecks soil structure for months.
- Add Amendments: Mix in compost, aged manure, or whatever fertilizer you have ready. Sprinkle it across the area. This sets you up for richer, friendlier soil right from the start.
- Till in Straight Rows: If you’re using a tiller, start in one corner and move in straight lines, overlapping each pass. For small areas, a shovel or garden fork works. Go about 6-10 inches deep.
- Break Up Big Chunks: Walk the area and break up clods with a rake. This gives seeds a smooth bed and helps roots find their way. If you spot worms, leave them alone – they’re your garden’s secret weapon.
- Let It Rest: Don’t plant right away. Give the soil a few days to settle. This helps even out moisture and lets air pockets go away.
You might be surprised: research from Michigan State University found that letting tilled soil rest for 5-7 days helps it stabilize and reduces the risk of erosion when you water or after rain. Here’s a quick reference on some handy numbers:
| Step | What to Watch For | Time Needed |
|---|---|---|
| Clearing | No plant material left | 10-30 min |
| Soil Test | Dirt crumbles in hand | 5 min |
| Adding Compost | 1-2 inches on top | 15-20 min |
| Tilling | 6-10 inches deep | 20-40 min |
| Final Rake | Smooth surface, no clods | 10-15 min |
The main thing with till a garden tasks is not to rush. Working slow and checking your progress avoids most beginner headaches. Pay attention to the small stuff—like moisture and depth—and your first veggie patch is off to a strong start.

Avoiding Problems and Protecting Your Soil
It’s easy to go overboard with tilling, but that’s where a lot of first-timers slip up. If you break up the dirt too much, you’ll actually destroy the natural soil structure. This can lead to poor water drainage, increased weeds, and loss of nutrients. Plus, all those earthworms and microbes you need for healthy plants hate getting chopped up by nonstop tilling.
The sweet spot is to till just once at the start, then leave the soil alone for a season. If you must till again later, do it shallowly. Here are a few ways to keep your soil healthy and dodge common pitfalls:
- till a garden only when your soil is dry but not rock-hard. If it’s too wet, you’ll turn it into a heavy mess that clumps up and ruins structure for weeks.
- Try no-till or low-till methods after your first season. Use mulch, compost, or cover crops to feed the soil instead of constantly turning it over.
- Add organic matter like compost or well-rotted manure instead of chemical fertilizers. This helps soil hold on to water and nutrients longer.
- If you can, test your soil every year. Home test kits aren’t expensive, and you’ll know if it needs more nitrogen, phosphorus, or potassium for next season.
For a quick view of how different tilling habits affect your soil’s health, check out these stats:
| Tilling Frequency | Organic Matter Loss (%) | Earthworm Population (per sq ft) |
|---|---|---|
| Frequent (3–4 times/year) | 30% | 4–8 |
| Once at planting | 10% | 15–19 |
| No-till | 2% | 25+ |
So, less is more when it comes to tilling—your soil (and your back) will thank you. Plus, you’ll spend way less time fighting weeds and hoping your plants survive a hot, rainy summer. After you get the basics right your first season, shift your focus to feeding the soil, not just turning it over every spring.

