
If you’re a renter, you’ll know only too well the horrors that can lie behind your shiny new front door. From walls covered in artex and carpets with suspicious looking stains, to chipped laminate worktops, mouldy tiles and questionable wallpaper, it’s not exactly a renters market at the moment. Quite often, you’ll find yourself with a landlord who’s more than happy for you to put your own stamp on the place – and if you’re REALLY lucky, you’ll end up with one like ours; someone who splits the cost of any improvements.
A lot of people ask me why we’ve spent so much time and effort on this house, given that we don’t own it (and aren’t likely to). I always say the same thing; just because we can’t afford to buy somewhere doesn’t mean we want to live somewhere that’s a) tatty, dirty, damp and dark or b) not to our taste. I’m hugely aware that we’re really lucky – a large portion of renters have to tolerate problems way more serious than ugly carpets; broken boilers, unlockable front doors, smashed windows and mould so severe that it affects the tenants health are all pretty common. (If you’re a renter who’s found themselves in a sticky situation with a difficult landlord, Shelter has some really thorough advice on what to do.)

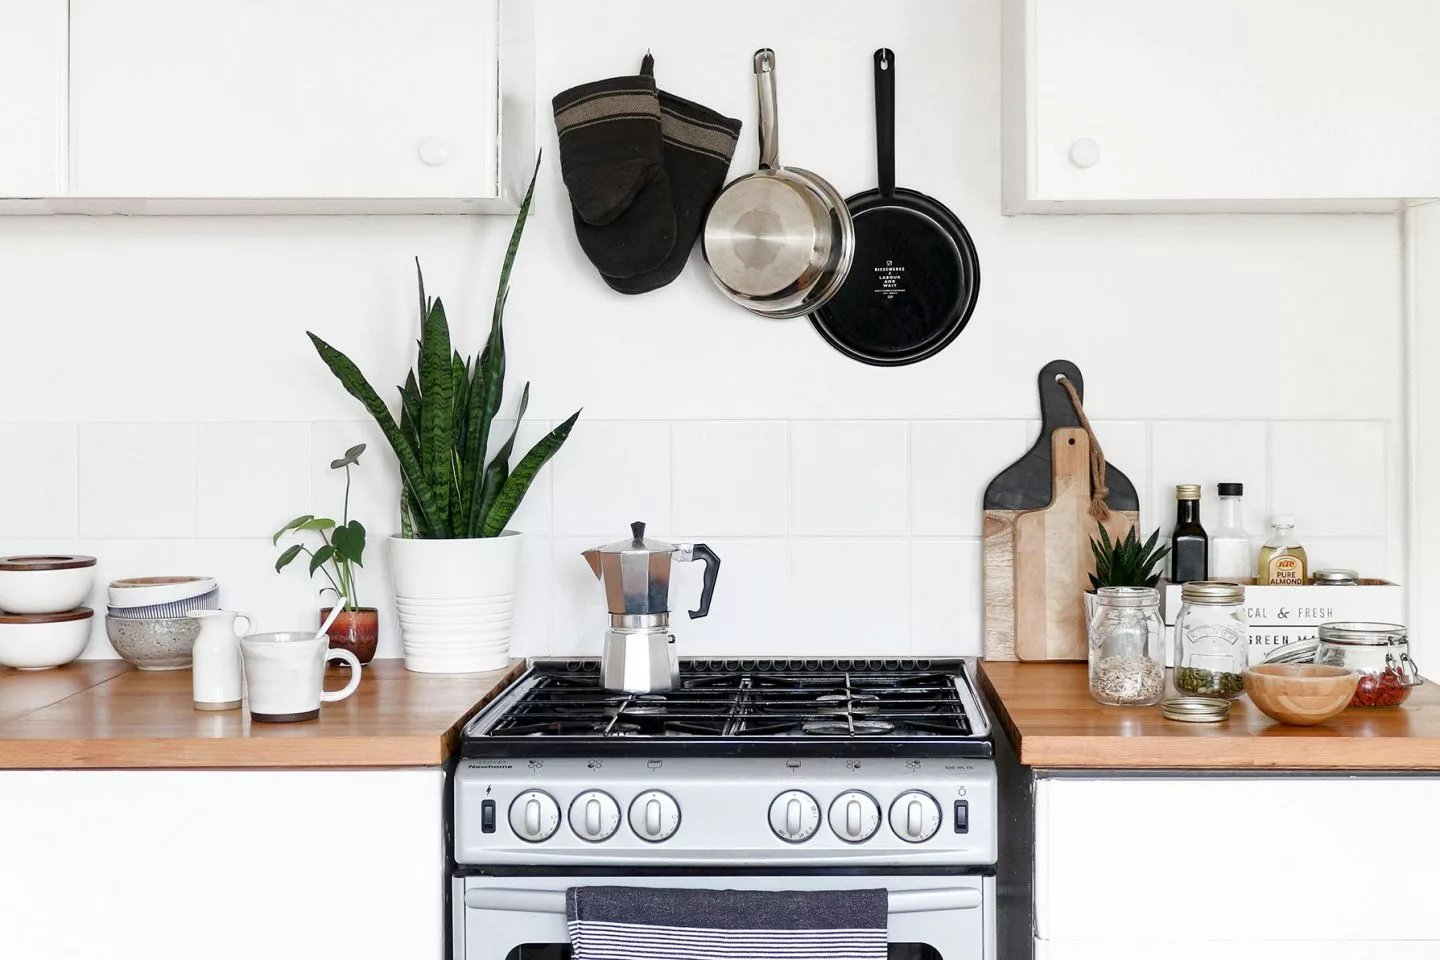
We’ve not done anything too dramatic to this house, to be fair; the landlord replaced the carpets before we moved in, and we skimmed the walls to hide the artex, painted everything white and retiled the bathroom. The kitchen was definitely the most intimidating room, mainly because it’s the biggest one in the house, and it boasts twenty-seven cupboards, six drawers, and a massive floorspace! We changed the worktops and tiles, paid for a plasterer to skim the walls and painted all the cupboards bright white – we’ve still got to put new lino down (a job I’m putting off a bit, if I’m honest!), but apart from that it’s done (although if I had my way we’d be changing light fittings, installing skylights with toughened glass and putting down wooden flooring!) I’ve learned a lot from this project, so I thought I’d do a quick post with my top three tips for renovating a rental kitchen.
Keep costs low
Although you don’t want to always choose the cheapest paint or tiles (there is such a thing as a false economy), it’s best to keep in mind that this is still a rental property – so maybe this isn’t the time to start stocking up on Farrow and Ball! If you want to splash out, choose things you can take with you; plants, wallhangings, storage and decorative items. Otherwise you’re just paying for your landlord to have posh walls! We got the most basic white tiles from Homebase, which were more than adequate – and once they’re on the wall, nobody can tell whether they cost 2p per tile or £2 per tile!
Learn new skills
If there’s one thing that kept the costs down for us, it was doing most of the work ourselves; from installing worktops to tiling and flooring, there’s not much you can’t pick up from YouTube or a good old fashioned DIY manual. I would strongly advise, though, not to dabble with electrics or plumbing!
Make do and mend
While the doors and kickboards in the kitchen were a bit beaten up and tatty, the cupboards themselves were absolutely fine – so we simply gave them a good sand, painted them bright white and added some more modern handles. It was way cheaper (and far less stressful!) than replacing all of the units – and they look great now. The sink was fine, so we gave it a good clean, and we probably would have kept the original flooring if it hadn’t been torn when we got a new fridge. It can be really tempting to want things ‘perfect’ – but just remember that ultimately, you won’t always live there!
