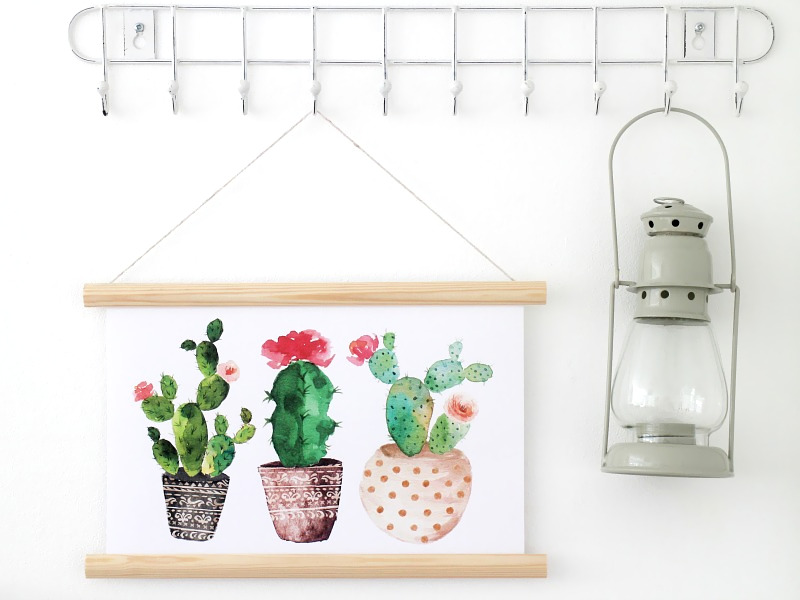
I’ve been making some bits and pieces for our bedroom recently, and one of the things I’ve done is so flaming easy and effective and CHEAP, that I thought I’d share it on here in case any of you fancied having a go. Ladies and gentlemen, I give you… the DIY hanging print frame thingy!

You will need:
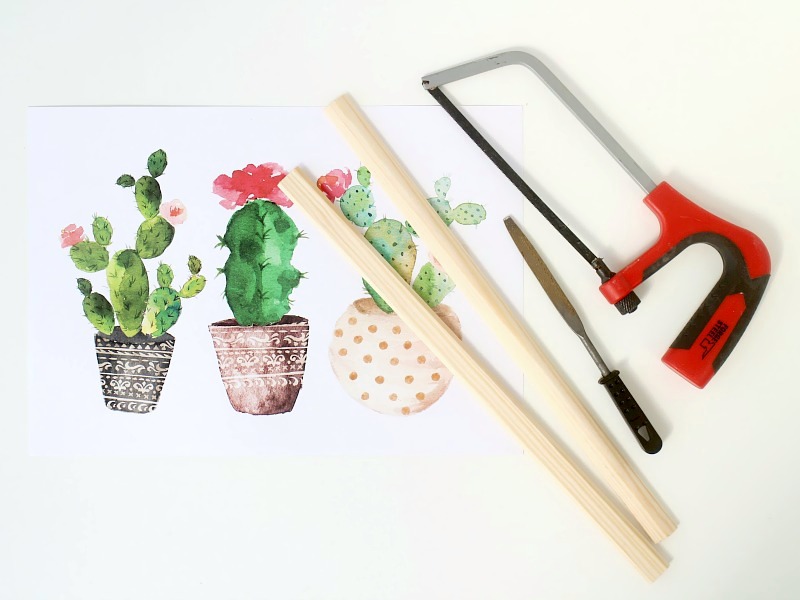
Two pieces of wood – mine were curved on the top and flat on the back, and were about £2.75 from B&Q!
Double sided sticky tape
String
A hacksaw
A glue gun and glue sticks
A print of your choice
1. Decide which way up your print is going to be framed, and then measure the top and bottom sides.
2. Add 3cm onto this measurement (1.5cm for each end), and mark the length onto your piece of wood.
3. Using the hacksaw, cut the wood to the desired lengths.
4. Cut a piece of string long enough to hang the frame from, and attach to the flat side of the top part of your frame using the glue gun.
5. Cut a piece of double sided sticky tape the same length as the wood, and stick over the string on the top part of the frame. Repeat for the bottom piece.
6. Unpeel the backing from the tape, and place your print in the centre of the wood. Press down firmly, so it sticks well.
7. Repeat for the bottom half.
8. Hang, admire and make yourself a well deserved cuppa!

I love this idea! I usually just hang up post cards in generic frames as I can't afford expensive wall art, but this looks so much better!MOON + FOREST || A Budget Travel Blog