
I’ve got a real thing for copper spray paint at the moment; I bought some for a craft project I did for Roost, and as soon as I used it, I was addicted. I love the copper homeware trend, because it looks SO good paired with wood and plants (which you all know I’ve got loads of!), so I decided to do a post on my three favourite DIY projects with this lovely stuff. (Quick note – I always use Plastikote spray paint as I’ve found it’s by far the best – it goes on beautifully evenly and dries quickly too.)
DIY Copper Hanging Planter (top)
I’ve wanted a copper hanging planter for aaaaaaages, but they’re more expensive than I can justify, so I decided to have a go at making my own – they’re so quick and easy, and pretty addictive, and you could easily make them in loads of different sizes.
You will need:
Old tins – I used an old baby formula tin, but you could use those giant tins of tomatoes, or make miniature ones with baked bean or spaghetti cans.
Plastikote copper spray paint
Matte spray varnish
Black cord (mine was probably about 3mm thick, from Hobbycraft)
An electric drill
A file (you can get these in packs from Wilkinsons for a few quid)
Fine sandpaper
1. Clean the tin, and lightly sand the outside to give the paint something to grip to.
2. Measure the circumference of the tin, and make four evenly spaced marks where the holes for the cord will go.
3. Using the electric drill, make your holes. If you find you’ve got some sharp bits, sand them off using the files.
4. Set up an area for spray painting – I usually use a large foam board from Hobbycraft to protect the ground, and choose somewhere that is relatively protected from the breeze.
5. Place your tin on the ground and spray it using quick, short bursts. Don’t get too close, or try to spray too thickly or you’ll end up with drips, fingerprints and a whole world of mess. I usually do two or three thin coats – the beauty of Plastikote is that it dries so quickly, you can get the whole thing done in around an hour and a half.
6. Once the paint is thoroughly dry, add a layer of spray varnish – use the same technique as before; if you put too much on in one go, it tends to go patchy (even though it’s clear….)
7. Once the varnish is dry, cut two identical lengths of cord and feed them through the holes. Knot the ends tightly, so they cant slip back through, then pop your plant inside and hang up.
8. Make tea, and admire.


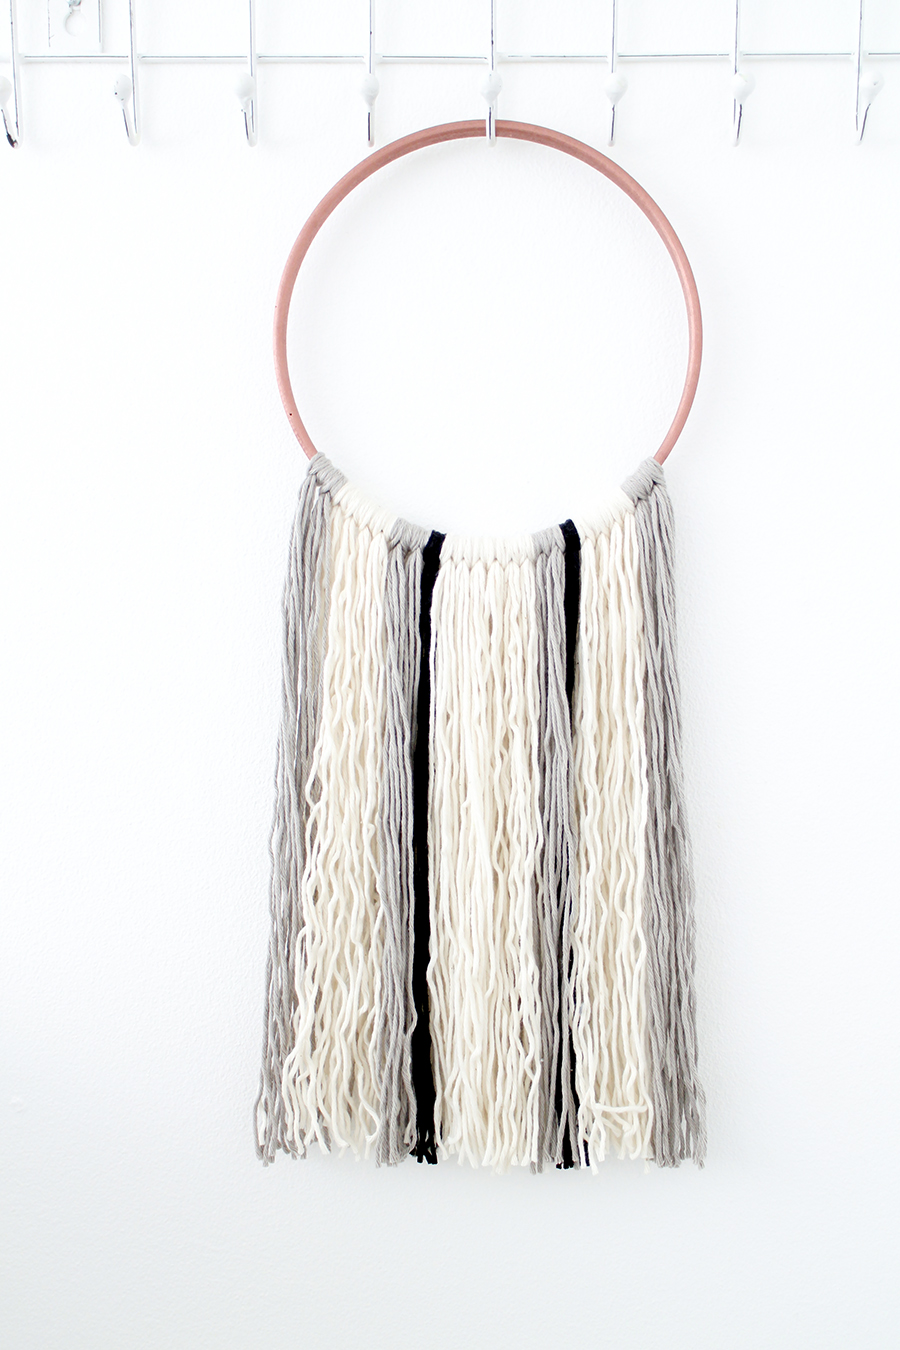
DIY Fringed Wallhanging
I’ve wanted one of those woven wallhangings for absolutely ages, but can’t afford a ready-made one (can you see a pattern emerging here?!), and I don’t have the time or space for another hobby – so I decided to cheat a bit and cobble together my own version. Daisy likes to take this off the wall and wear it as a giant necklace, so I guess if you used a big enough embroidery hoop, you could really get your money’s worth.
You will need:
The inner part of an embroidery hoop (whatever size you like)
Cotton yarn in your chosen colours (I use Rico Creative Cotton Aran for almost everything – it’s budget friendly and really good quality)
Plastikote copper spray paint
Matte spray varnish
A rotary cutter and cutting board or thick card (rotary cutters are sooooo handy to have)
Something good to watch or listen to – this project can take a while if you’ve gone large on the hoop size
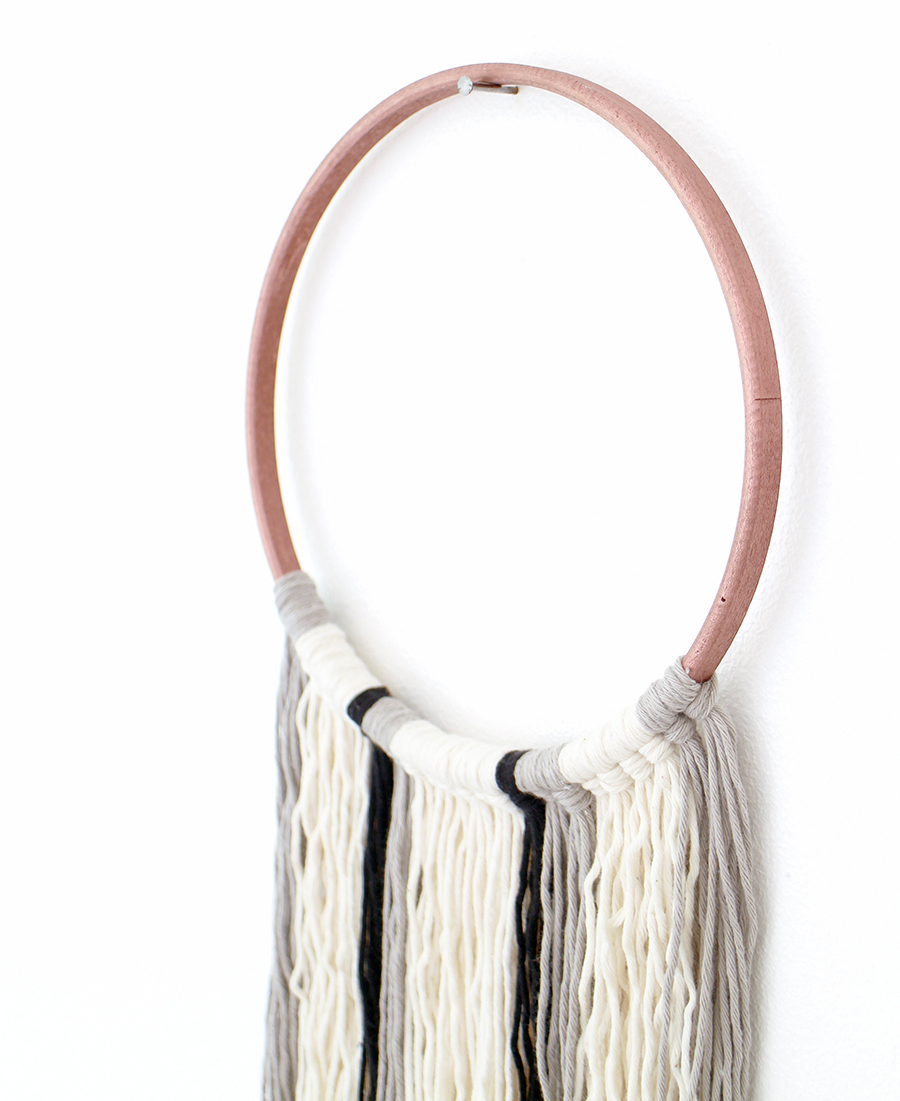
1. Lightly sand your embroidery hoop and spray with copper spray paint. Leave to dry, and then spray with matte varnish as in the tutorial above.
2. Decide how long you want your fringing to be, and then double that measurement. Cut several (read: fuckloads) of yarn in your chosen colours to this size.
3. To create one tassel, take three or four pieces of yarn and fold it in half to create a giant loop. Place the looped end over the hoop, then feed the end through it to secure it in place. Pull it tight, and then carry on until the end of time you’ve used it all up.
4. You’re going to end up with loads of uneven ends; you can finish it by cutting straight across like I did, or on a curve or even into a point. The easiest way to do this is to lay the whole thing on a cutting mat or piece of thick card, and trim with a rotary cutter, either along a ruler or following the curve of a plate.
5. Hang up, admire your work, and hoover up all the stray yarn ends.


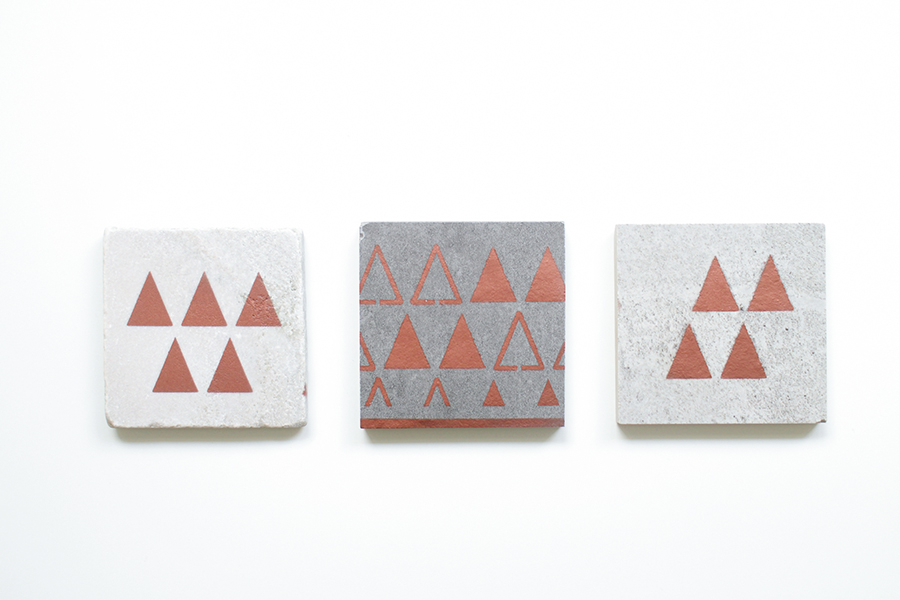
DIY Geometric Copper Coasters
I love a good stencil project – I always feel like it’s a major achievement when you lift it up and there’s been no leakage underneath!
You will need:
A geometric self-adhesive stencil (I used this one, but you can get loads of designs from most craft places)
Plastikote copper spray paint
Matte spray varnish
Tile samples
Cork backing
1. Place your stencil onto your tile sample, and press down along all edges – you want to avoid as much leakage as possible.
2. Using the method described in the first tutorial, spray over the stencil and onto your tile. Allow to dry thoroughly.
3. Once the paint is dry, remove the stencil gently, and cover with at least two coats of varnish. Leave to dry thoroughly for at least two days.
4. To protect your surfaces from the rough underside of the tile, cut cork squares slightly smaller than the tile and stick to the bottom. Leave to set.
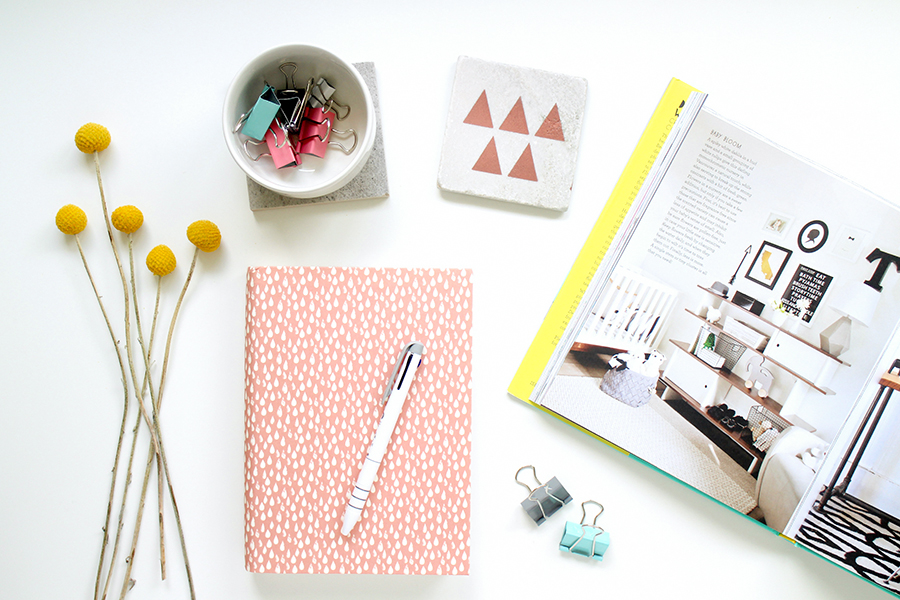
5. Use them to jazz up your lounge, office or bedroom – although they’re coasters, I’d advise being cautious when placing extremely hot cups on top of them for the first few weeks, as they tend to stick.*
*I accept no responsibility for tea spillages.
Pin it for later?
A nice Pinterest-friendly image for you to keep for later!


I love these ideas! I've got a collection of tins which I have have no idea what to do with – definitely going to give spraying them a go with some bathroom plants to brighten up the room.
Great ideas, I really love the look of the hanging planters! I'm very tempted to pick up some copper spray paint and have a go at making one this weekend 🙂
Such a great idea, I've never seen copper spray paint but love the copper look so would really love to try it X Julia @ Rainbeaubelle
These are amazing! x
This is ace – you are so clever! I've got a tin of gold spray paint which I was going to spray cutlery with at xmas (don't ask) but I reckon one of these would be so much better! xx