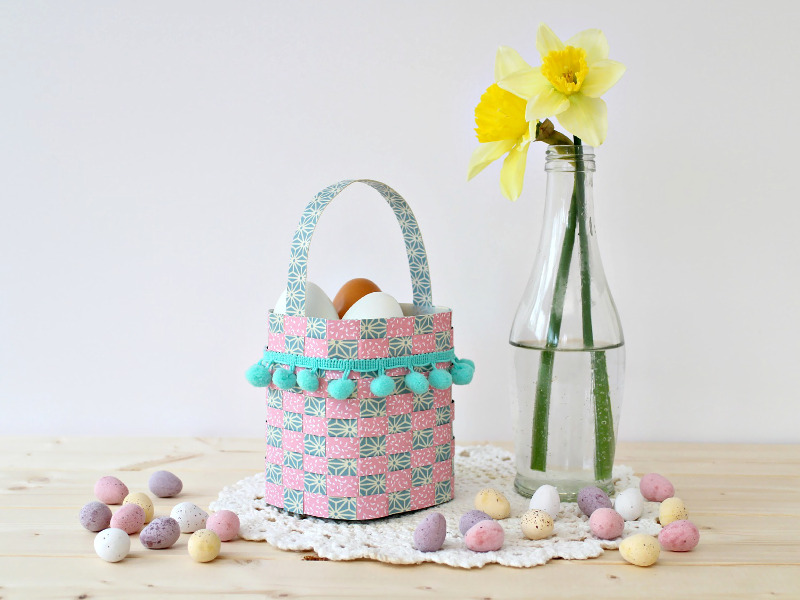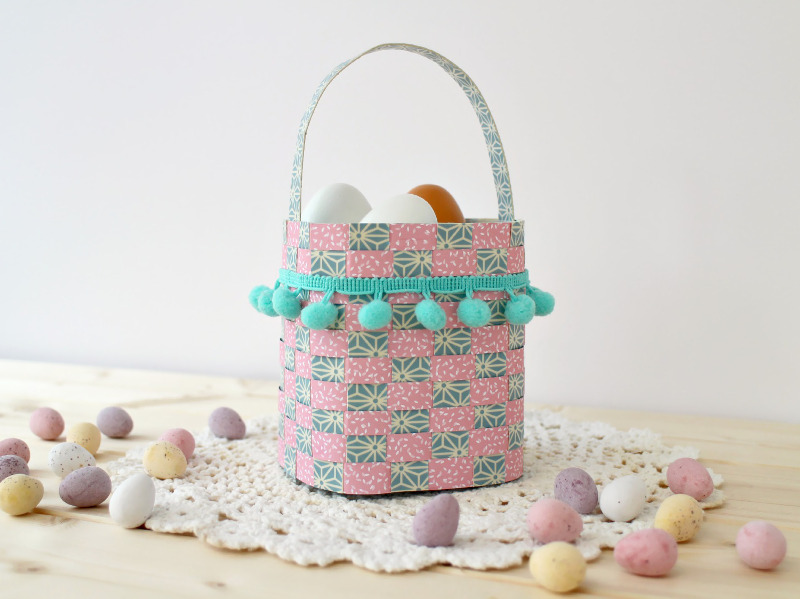

A couple of weeks ago, the lovely folks at Harveys got in touch and challenged me to come up with a crafty project to keep the kiddos entertained over the Easter holidays; it had to be fun, it had to be simple and it had to be lounge-friendly, and so the easy-peasy cheats woven basket was born. It looks fancy and intricate, but actually, it’s soooo simple and works well for children of all ages (and adults!)

You will need:
Different coloured card, or printed scrapbook papers – mine
are from online boutique StickyTiger
Haberdashery and trimmings, such as ribbons, pompom trim and
ric-rac braid
An empty milk carton, whatever size you like
A selection of decorative tapes
Strong glue
A glue gun and glue sticks
Sharp scissors
A craft knife (optional, but handy!)
1. Start by preparing your craft area; you’ll need a hard
surface, so a dining table or coffee table works well – this is a perfect
project to do cosied up in the lounge on a rainy day. Cover the table in a
plastic tablecloth or newspaper, and make sure there are plenty of paper towels
and wipes to hand!

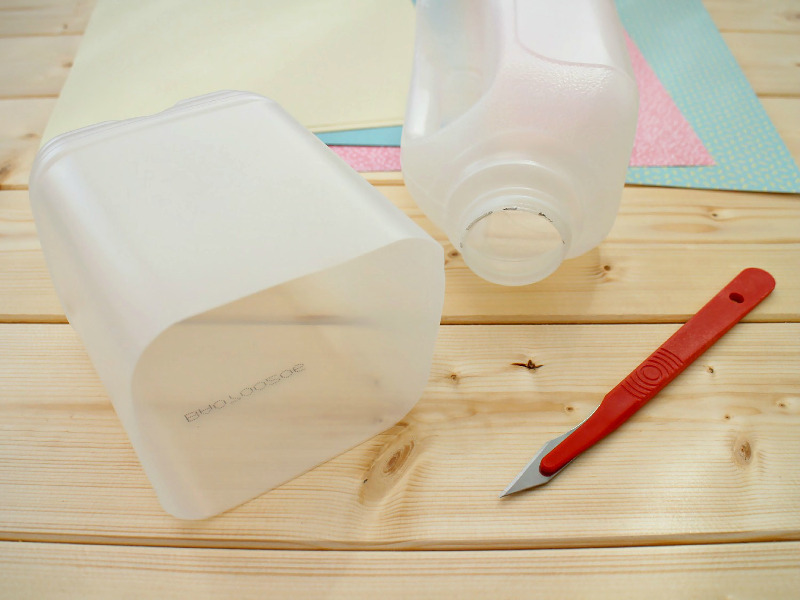
2. Wash and rinse your milk carton well, then remove the
label and cut the top off so you have a fairly short container. I used a craft
knife, but if you’re working with really small children, scissors work just as
well.
3. Decide which paper or card you want to use as your base,
then measure the height of your milk carton. Cut a strip of card large enough
to cover the carton completely, with a good overlap at the back.
4. Place your strip of card face down on the table, then
measure 1cm from the end, and draw a line. You then need to decide how wide you
want your weaving to be – I did 1cm, but you can make it bigger if you like –
and mark the distances. You should end up with something that looks like this:

5. Cut along the lines using the craft knife or scissors, so
you end up with what looks like a piece of fringing.

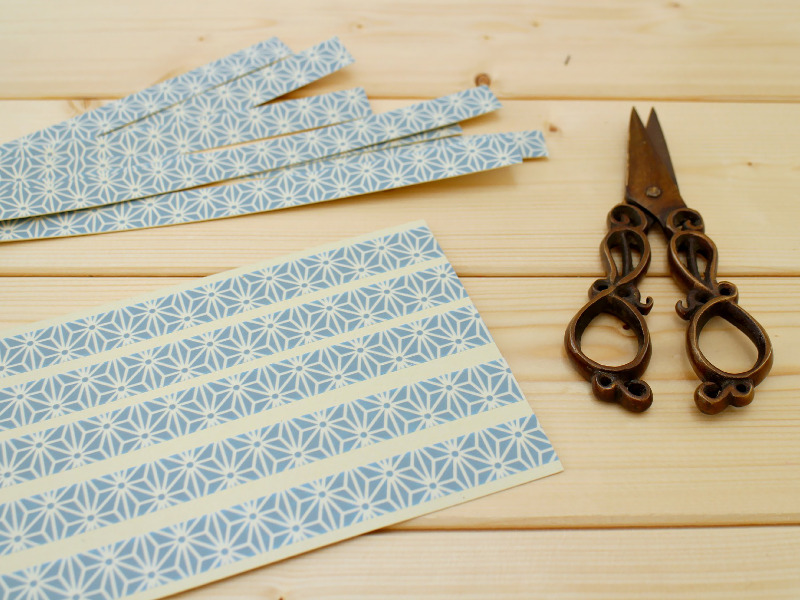
6. Make the contrasting strips by sticking lengths of
decorative tape to a piece of card, then cutting along the edge. This is way
quicker and easier than measuring and drawing loads of lines – and there are
some really great tapes around as well!

7. Once you’ve cut out all of your card strips, start
weaving them into the main panel; either create the standard checkerboard
pattern like I did, or experiment by alternating where you place your strips to
make different patterns. If you find they move about, hold them in place with a
small blob of glue on each end.
8. Once you get to the end of your piece of card, cut out
another strip and glue it down to seal the ends in place. Trim any excess card,
and leave to dry.

9. To make the handle, take two of your card strips and glue
them together with the right sides facing outwards. Attach them to the sides of
the milk carton using a glue gun – your basket won’t be holding anything too
heavy, so this should be strong enough.
10. Using the glue gun again, join your woven panel to the
back of the milk carton, then slowly wrap it around, gluing as you go, until
you reach the back again.

11. Take your haberdashery and decorations, and glue them to
the basket to finish off. You’re finished – ta da!
Variations
- This is a really versatile
project that works with children of all ages; younger family members with
little hands can join in with wider lengths of card to make it less
fiddly, while older children and teenagers can try narrower ones, and
adding in more patterns.
- Rather than using
patterned or plain paper, you could get the kids to decorate card with
painted patterns and colours and use this instead.
- Experiment with different
size and shape bottles; fizzy drink bottles and squash bottles are great
for round baskets, and you could even make miniature oval baskets using
washing-up liquid bottles.
We love a bit of crafting and mess in our house, although admittedly both Ben and Daisy tend to get bored fairly quickly; I hate cleaning up afterwards, especially if they’ve abandoned their project halfway through, but find that baby wipes get pretty much any stain out of any surface or fabric – and if they don’t, a baking soda and white vinegar mixture will do the trick. There are heaps more cleaning tips from other Mums on the Harveys website, and they’ve also helpfully come up with some specialist guides for getting those pesky marks off of fabric and upholstery and leather furniture, and even for removing scratches from glass.
There are some other great crafty tutorials over here, including a fabulous rocket backpack (such an amazing idea!) and a beautiful spring mobile; most excitingly of all though, Harveys have teamed up with Not on the High Street to give away an incredible children’s den.

All you have to do is upload pictures of your childrens crafty projects to Facebook, Twitter or Instagram, adding the #HarveysHandmade hashtag and you’ll automatically be entered in to the competition. What are you waiting for? Get crafting!
Huge thanks to Harveys for partnering with The Owl and the Accordion.

Love this! x
gorgeous!
Wow this looks amazing. The woven card looks so cool. You = very talented!!
this is so cute! i used to love weaving with paper/card.
ah so cute! this reminds me of woven cards crafts I did as a kid, apart from your's looks much better! x