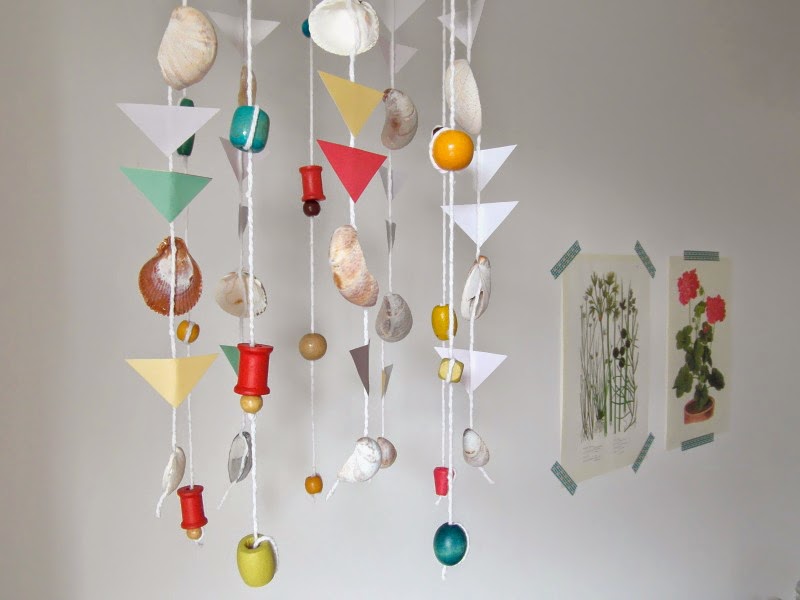
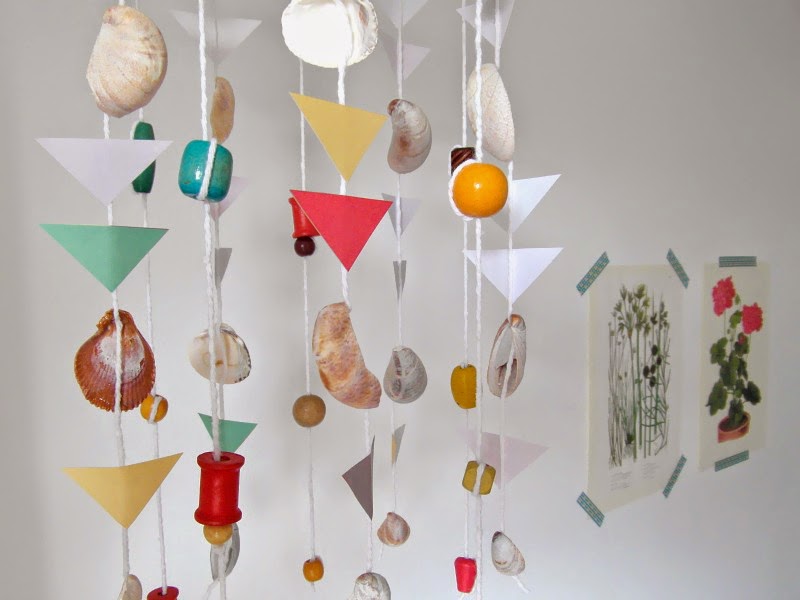
If there’s one thing I’ve got a lot of in my craft collection, it’s shells; we go to the beach a few times a month, even in the winter, and with the kiddos eager to fill my pockets with a load of beachy tat, I’ve ended up with quite a good selection. The thing is, there’s only so many shell-covered boxes you can make, so I decided to cobble together a colourful mobile for the bathroom – initially I tried to drill through the shells to thread the cotton through, but after blunting three drill bits and almost leaving a hole in the floor, I discovered that they’d quite happily stick to the cotton with some good quality craft glue. Much less effort, and God knows I love a simple project!
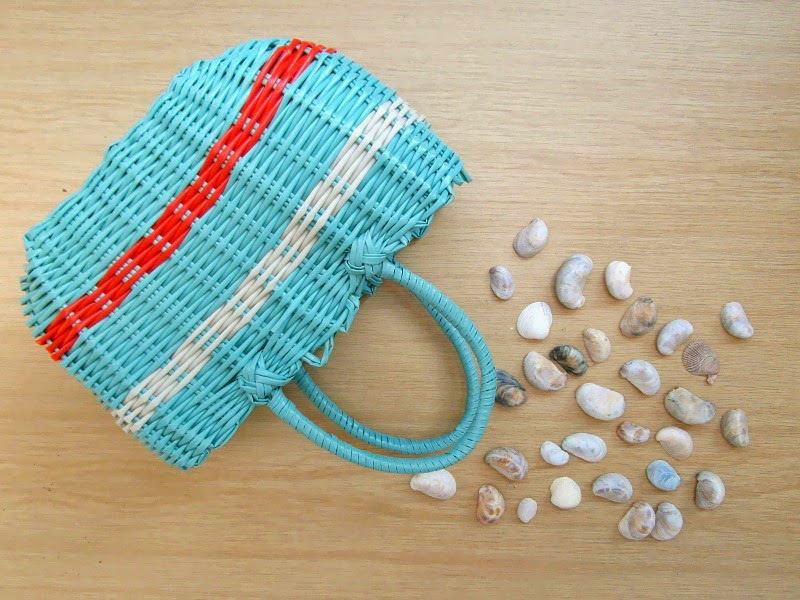
You Will Need:
Shells of all shapes and sizes
Coloured beads (I used these from the kids section at Hobbycraft – they were only £2 for a large bag)
Crochet cotton (a good sewing or yarn shop will have a ball for around £1.50)
The inner section of an embroidery hoop
Coloured paper or card cut into triangles (I used some paper from Tiger that was printed in triangles, but anything will do)
Scissors
An embroidery needle
1. Cut ten lengths of cotton the same size, mine were about 50cm, but you can make them as long or as short as you like.
2. Space your shells out along five of the lengths, and then glue the underneath press down firmly on the cotton. I found that the cotton tended to stick to my fingers, so I held it in place with a toothpick for a few seconds before moving on to the next one.

3. While your shells are drying, choose your beads, and space them equally along the other five lengths of cotton. To make sure they stay in place without fiddling around with knots, thread the cotton onto the embroidery needle and then thread it through the bead, then loop back round again.
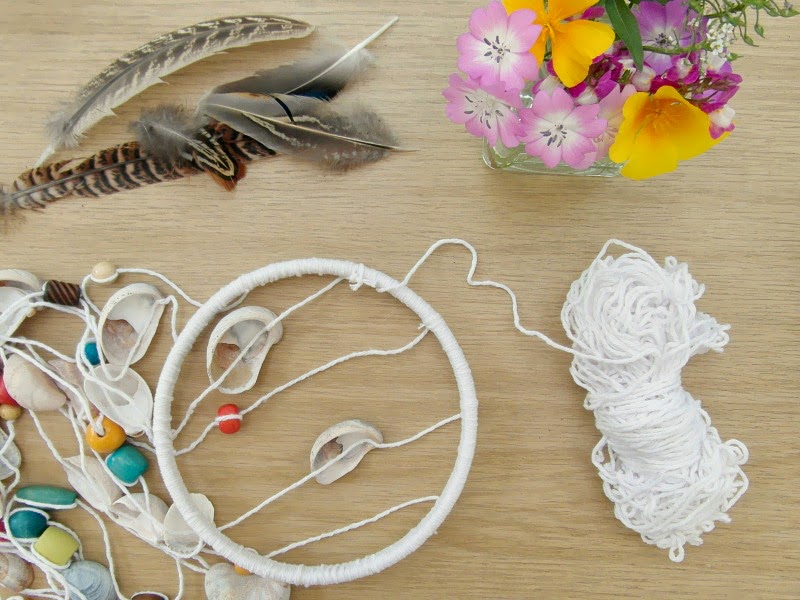
4. Tie each length onto the embroidery hoop at equal spaces, then attach the end of the crochet cotton and wind it round until the whole hoop is covered, cover the loose ends from the lengths as you go – this is a bit fiddly and can take a while, so it’s best to do it front of the TV with plenty of biscuits to keep your energy up. Ahem.
5. Once you’ve covered the hoop, cut four more equal lengths of cotton, and arrange them around so your mobile hangs as straight as possible. Fasten them together and then trim the ends.
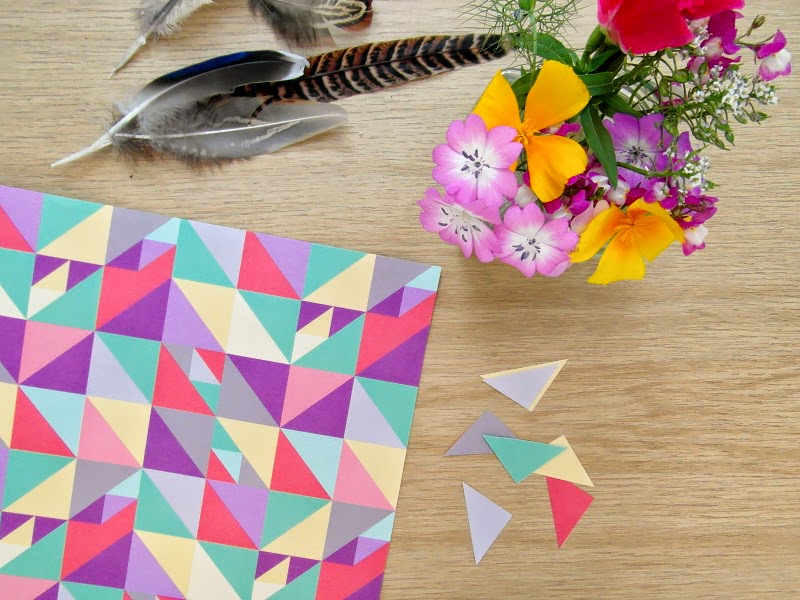
6. Hang your mobile somewhere where you can reach it, then prepare your triangles, and stick them to the cotton between the shells.
7. Wait for the glue to dry, then hang up and admire!


Ooh lovely! We make shell and beach glass mobiles now and again but I love how you've added the beads for colour! Those beads are lovely- the long ones remind me of cotton reels! Thanks for the inspiration. 🙂 xxx
oh this is so sweet! We are at the beach at the moment so I'll get Wilf hunting for some! x
This is amazing, thank you for the inspiration of what to do with my beach combing finds. I'm really enjoying the frugal Friday series by the way.
That's gorgeous, I love the coloured beads and the triangles make it look really cool and modern too. I want one!
It is truly glorious. I love the mixture of natural and geometric shapes. Beautiful!
so cute, and i love the little bit of colour!
What a great idea, I love how graphic it looks too, lots of colour shapes and white. Might have to go to the beach now. X
Oh I really love this and another great and simple way of bringing nature into the home and it's totally something kids and toddlers can get involved with, thanks for sharingLaura x