

Wreath making this year seems to have reached fever pitch; people everywhere on Instagram and in Blogland have been getting busy with foliage, berries, leaves, dried fruits, wire, paper, yarn and anything else that they can bend into a circle and decorate. I’ve seen some amazing creations, from natural beauties incorporating feathers and dried hydrangeas, to more colourful versions made from modern materials, and finally the traditional wreath, plump and full with plenty of spruce, fur and pine cones. For work-related projects, I must have made well into double figures by now (and we still don’t have one for the front door!), and I’ve learned a few tricks along the way – so I thought I’d share my top five tips for making a fabulous wreath.
1. Use what YOU like
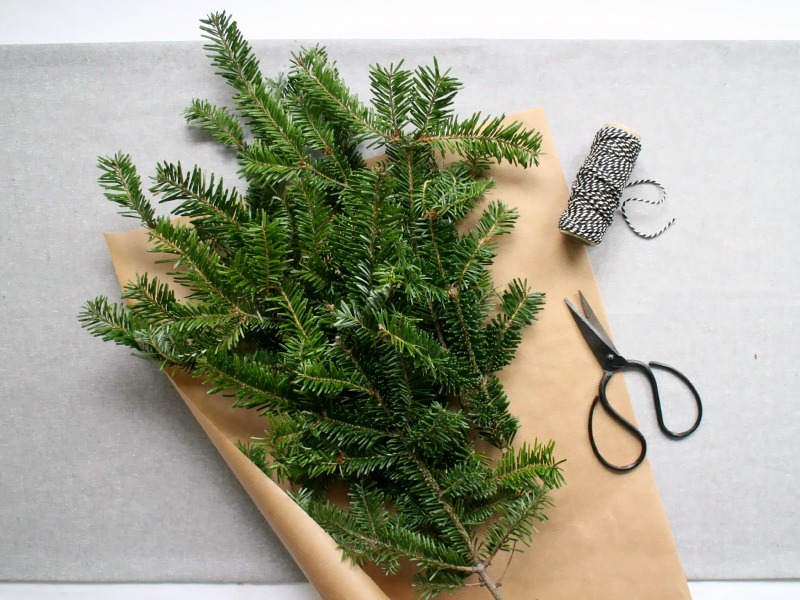
Eucalyptus wreaths really seemed to be a ‘thing’ this year, and they looked beautiful; simple, natural and seasonal. When I tried using eucalyptus, I couldn’t get it to sit right, and the leaves kept falling off – so in the end I gave up (after a giant tantrum, I might add). Instead most of my foliage came from offcuts of overgrown bushes in peoples gardens (path side – I’m no garden raider!) and the bottom offcuts from our Christmas tree. I also found some lovely baby eucalyptus (so much easier to work with, completely different ball game!) and other seasonal greenery at my local florist; foraging is great and all, and you all know that I love a good freebie, but if you can’t find anything that will work, or you don’t have time, or you simply don’t feel like tramping about in bushes, go to the florist. Job done!
2. It doesn’t have to be green… or round
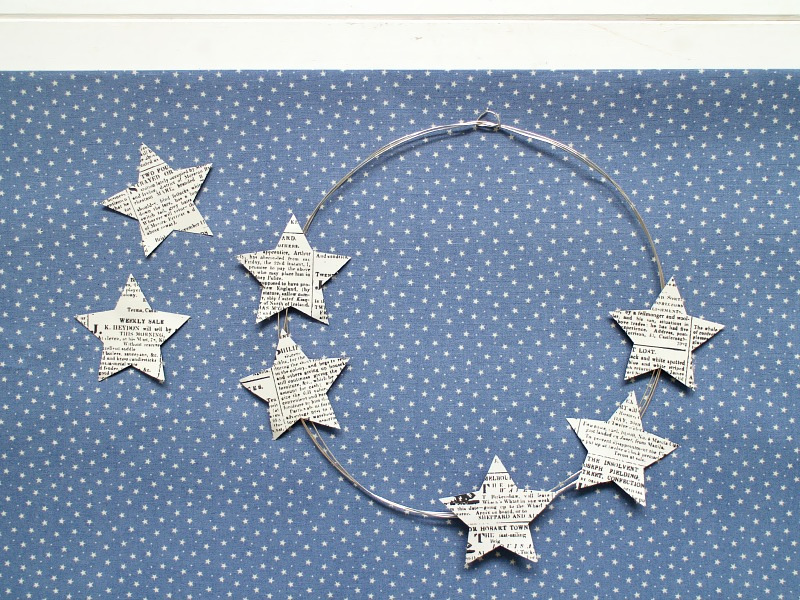
While I was scrolling through Pinterest looking for inspiration, I found some amazing pictures of wreaths made from paper; folded into intricate origami stars, curled into cones and this amazing paper hydrangea wonder-creation, which made me look twice because it was so realistic. There were wreaths made from fabric, twisted into knots and folded into bows, and some amazingly spectacular yarn-based wreaths, including this one, which is made from old jumpers! Shapes ranged from the tradtional circle through to stars, triangles and even tree shapes; sticks and wire bent carefully and secured with string to create something a bit different.
3. If in doubt, cheat
I learned quite quickly that string and wire weren’t going to hold everything together quite as securely as I would have liked – plus, I decided that I didn’t have the patience to sit there meticulously bending wire into place for hours. So I cheated, and got out the glue gun; if it didn’t stay in place the first time of trying, it got treated to a dose of the hot stuff – jobs that would have taken me hours were done in minutes, and apart from the time the glue gun got stuck to the floor, it was much less stressful. Nobody is going to know (or care!) whether it’s secured with wire, string, glue or spit and crossed fingers. (My glue gun was this one from Hobbycraft. Cheap as chips!)
4. The base is everything
No matter what materials you’re using, you need a good base; like the foundations of a house, your wreath base has got an important job to do, so it’s worth taking time to get it right. If you’re looking to make your own, head out into the woods or park and find some good sized sticks which have a bit of flexibility to them – they need to be robust, but not so thick that you can’t bend them. Alternatively, a lot of craft shops (and eBay!) sell packets of willow which are perfect, and only cost around £5 – you do have to soak them for 72 hours prior to making, but they’re by far the best option. When making your base, don’t use any less than five sticks, or you won’t have enough places to weave in your greenery – if you’re making a large wreath, you’re probably going to want more. Or, save a load of time and buy a ready-made base!
5. Don’t forget to attach a hanger
Several times I’d finished the wreath, only to realise that I’d forgotten to attach some string or wire to hang it up with – cue lots of swearing and huffing while I tried to thread a needle through the whole thing without disturbing any of the leaves or dried fruits. Think how and where you’re going to hang it before you get started – trust me, it’s much easier in the long run!

Oh I love these. That top one especially is just beautiful. x
Very nice. Are you do it by yourselves? Great work. I also love making some decorations or some gifts for the Christmas. Thank you for your sharing, it makes me wanna try to do something :X